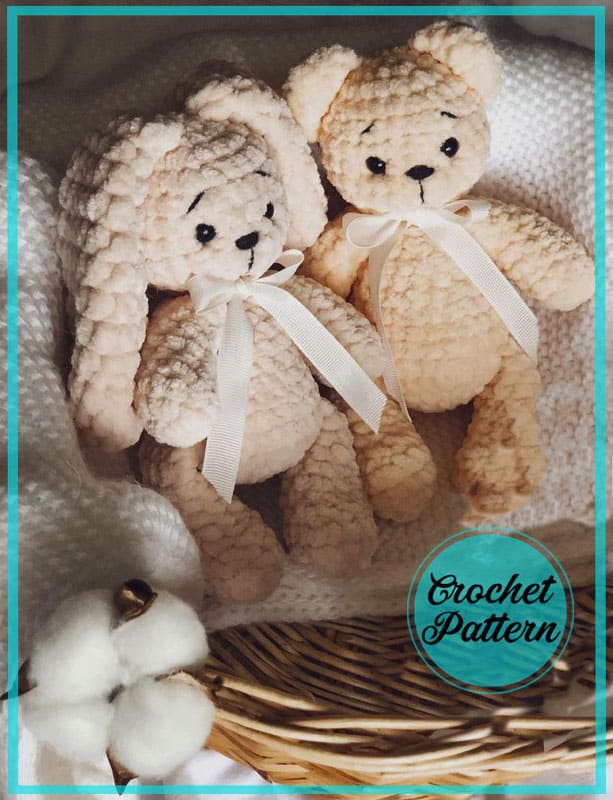
Hello, today I am sharing teddy bear and bunny amigurumi in one design. Thank you very much to lulaby who designed it. It was a really successful design. The teddy bear and the bunny are crocheted in the same way. Two different characters emerge just by crocheting the ears differently. Of course, you can make differences while creating the facial expression. You make the amigurumi you see using velvet yarn. It’s very easy to make. I think it will be a very good choice for beginners. You can find the necessary materials for Amigurumi in the description section. This amazing pattern is completely free. Now let’s crochet the bunny and teddy bear amigurumi step by step.
Designer: lullaby__knitting
Required Materials and Tools
1. Yarn Himalaya dolphin baby (100 grams – 120 meters) or Уаrn аrt Dolce
2. Hook No. 4 – No. 4.5
3. Filler holofiber / synthetic fluff
4. Eyes on a secure mount 9mm.
5. Scissors, needle, cotton yarn for stitching parts
6. A yarn of floss or semi-cotton (jeans or Coton gold) of black color, for embroidery of the nose, eyebrows
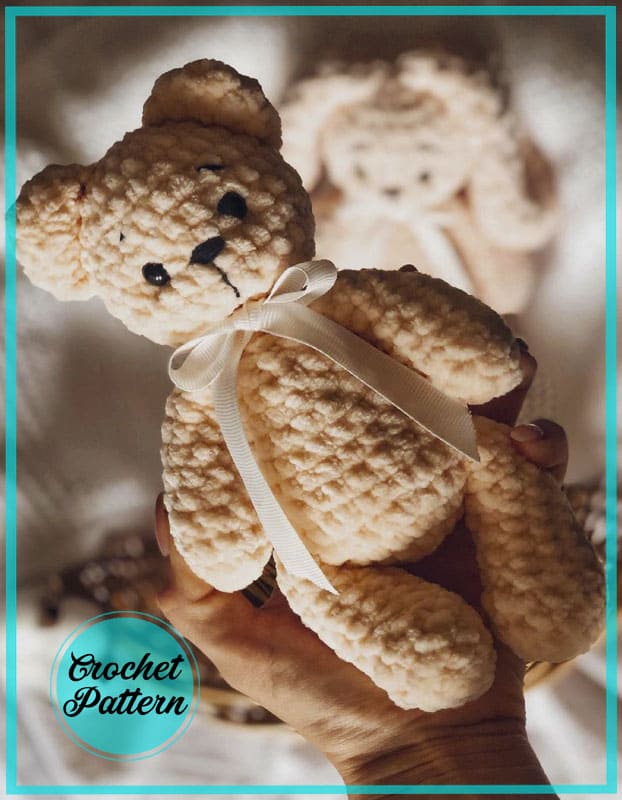
The height of the finished toy when using these materials is 20 cm
Abbreviations
AR – Amigurumi Magic ring
LL: Lifting loop Click for mean!
MR – Amigurumi Magic ring
App – application
sc : Single Crochet
inc : Increase
dec : Decrease
tr : Triple Crochet/ Treble Crochet
st: Stitch
dc : Double Crochet
hdc: Half Double Crochet
sl-st : Slip Stitch
ch : Chain
..in : make increase into same stitch as many as the number which is given in front of “inc” abbreviation (exp; 3inc, 4inc..).
FLO : Crochet into front loops only
BLO : Crochet into back loops only
BL : Bobble Stitch – do 5dc all in the same stitch and then yarn over and pull through all the loops on your hook (the original loop + 1 loop for each partially completed dc)
Legs (2 parts)
Fill with filler as you crochet.
1. We make 2 ch, in the second loop from the hook we crochet 6 sc
2. 6 inc (12)
3. (3 sc, inc)*3 (15)
4. 15 sc
5. 4 sc, 3 dec, 5 sc (12)
6. 5 sc, dec, 5 sc (11)
7. 11 sc
8. 5 sc, dec, 4 sc (10)
9 – 11. 10 sc (3 rows)
Fold the part in half, make sure that the “toe” of the leg looks forward, if necessary, crochet a few more sc for this. Next, crochet 5 sc on both sides, cut off the yarn.
Hands (2 parts)
Fill with filler as you crochet.
1. We make 2 ch, in the second loop from the hook we crochet 6 sc.
2. 6 inc (12)
3. 12 sc
4. 4 sc, 2 dec, 4 sc (10)
5 – 6. 10 sc (2 rows)
7. 4 sc, dec, 4 sc (9)
8. dec, 7 sc (8)
9 – 11. 8 sc (3 rows)
Fold the part in half, make sure that the convex part of the handle looks forward, if necessary, crochet a few more sc for this. Next, crochet 4 sc for both walls, cut off the yarn.
Head
1. We make 2 ch, in the second loop from the hook we crochet 6 sc
2. 6 inc (12)
3. (1 sc, inc)*6 (18)
4. (2 sc, inc)*6 (24)
5. (3sc, inc)* 6 (30)
6 – 9. 30 sc (4 rows)
10. (3 sc, dec)*6 (г4)
11. (2 sc, dec)*6 (18)
12. (1 sc, dec)*6 (12)
The eyes are inserted between the 7th and 8th row, at a distance of 5 sc. We stuff the head tightly, make slst, cut the yarn, hide it. We take a needle and a thin yarn, make an eye tightening.
Body
Fill with filler as you crochet.
1. We make 2 ch, in the second loop from the hook we crochet 6 sc.
2. 6 inc (12)
3. (1 sc, inc)*6 (18)
4. (2 sc, inc)*6 (24)
5. (3 sc, inc)*6 (30)
6. We crochet the legs- 5 sc, 5 sc leg, 10 sc, 5 sc leg, 5 sc (30)
7. (3 sc, dec)*6 (24)
8 – 9. 24 sc (2 rows)
10. (2 sc, dec)*6 (18)
11 -12. 18 sc (2 rows)
13. (1 sc, dec)*6 (12)
14. We crochet hands – 2 sc, 4 sc hand, 2 sc, 4 sc hand (12)
We make slst, cut off and hide the yarn.
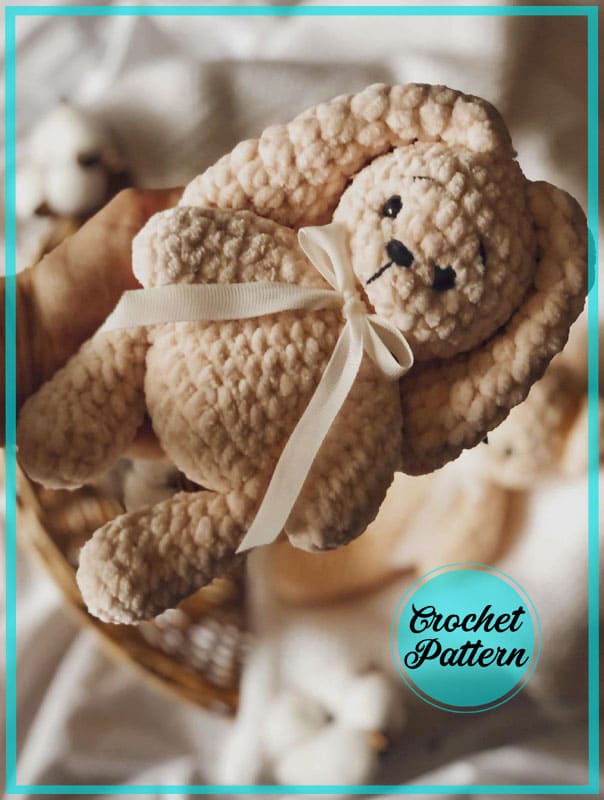
Bunny ears (2 parts)
1. We make 2 ch, in the second loop from the hook we crochet 6sc
2. 6 inc hdc (12)
3. (1 hdc, inc)*6 (18)
4 – 5. 18 hdc (2 rows)
6. (4 hdc, dec)*3 (15)
7 – 8. 15 hdc (2 rows)
9. (3 hdc, dec)*3 (12)
10. 12 hdc
11. (2 hdc, dec)*3 (9)
12 – 15. 9 hdc (4 rows) Fold the eyelet in half, crochet behind both sides with regular sc, cut off the yarn.
Ears for a bear (2 parts)
1. We make 2 ch, in the second loop from the hook we crochet b sc.
2. 6 inc (12)
3. 12 sc
Fold the piece in half, crochet 6 sc on both sides, cut off the yarn.
Ponytail (one for all)
1. We make 2 ch, in the second loop from the hook we crochet 6 sc
2. (1 sc, inc)*3 (9)
3. 9 sc
4. (1 sc, dec)*3 (6) We make slst, cut off and hide the yarn.
Assembly
Using a needle and yarn (to match the color of a toy or white), we sew on the head and ears.
We embroider the nose and eyebrows on a black floss or jeans. We fasten and hide all the yarns.
This is a PDF pattern for crocheting plush bear and bunny toys using the amigurumi technique. Amigurumi is a Japanese term that means “stuffed toy” and involves crocheting small, round pieces and then sewing them together to create a three-dimensional figure. This pattern includes instructions for both the bear and bunny, as well as tips on how to customize their appearance and size. The finished toys are sure to be a hit with kids and adults alike, making them perfect for gifts or decorations. Whether you’re a seasoned crocheter or just starting out, this pattern is a fun and rewarding project that will help you hone your skills and create something special.


Comments0