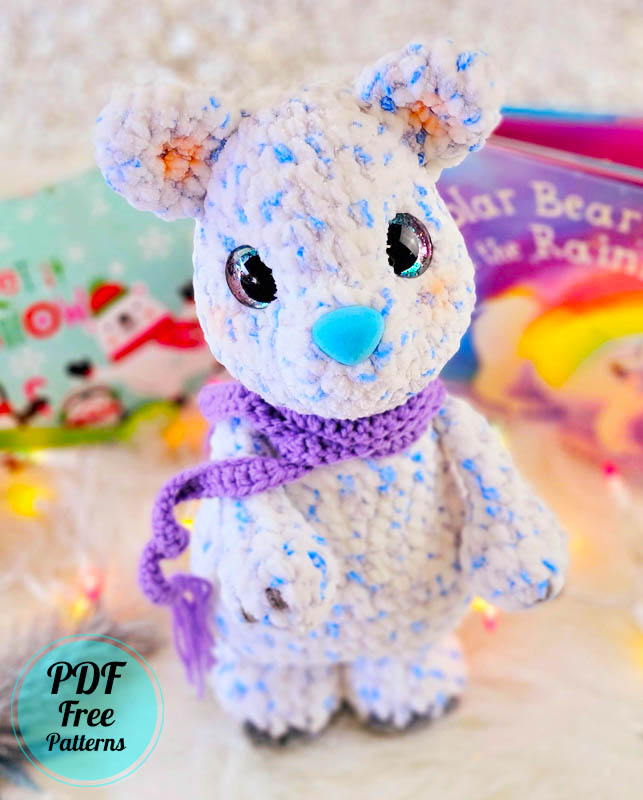
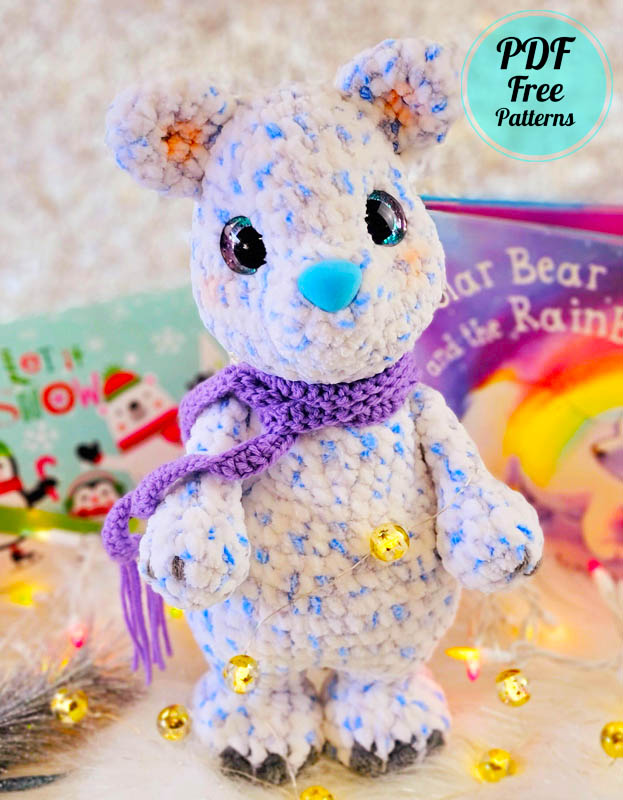
Made using a different and very special yarn, this polar bear has a really cute design. The realistic eyes and nose of the Amigurumi teddy bear look great. If you wish, you can also make this teddy bear amigurumi using a different yarn.
Designer:
Instagram: SweetOddityArt
Etsy: SweetOddityArt
Size:
7 inches from bottom to top of head with weight 4 yarn and a 3.25 mm hook
Skill Level Needed:
Intermediate- suitable for novice crocheters, requires patience and precisions when assembling the polar bear and basic crochet skills.
Materials Needed:
Yarn: Chenille weight #5, premier parfait bloom
Color A: Body color, Color B: Blue, Color C: Gray
Hook Size: F hook or 3.75 mm
26 mm safety eyes, 26 mm safety nose
Scissors, sewing needle, stitch marker, fiberfill stuffing
Abbreviations:
mr= magic ring- crochet single crochet stitches in to the adjustable loop
ch= chain stitch
F/O= Fasten off
sc= single crochet stitch
hdc= half double crochet
sl= slip stitch
FLO= front loops only
dc= double crochet stitch
inc3= 3 sc in the same stitch
bob= bobble stitch
inc= increase- make two single crochet stitches in the same stitch
dec=decrease- crochet two stitches together using the decrease method
(4 sc, inc) x 6= repeat the pattern between parentheses 6 times
Notes:
• Do not join rounds unless stated, work in a continuous spiral
• Use a stitch marker to mark the beginning of each round
• All stitches are worked in both loops unless stated otherwise in the pattern
Head:
Crocheted from top of head to bottom
With Color A:
Ch 6
1. inc in 2nd ch from hook, 3 sc, inc3 in last chain, working on opposite side of chain: 4 sc= 12
2. inc x 2, 3 sc, inc x 3, 3 sc, inc= 18
3. (sc, inc) x 2, 3 sc, (sc, inc) x 3, 4 sc, inc= 24
4. (2 sc, inc) x 2, 3 sc, (2 sc, inc) x 3, 5 sc, inc= 30
5. sc in each st around
6. (4 sc, inc) x 6= 36
7-9. sc in each st around
*In round 10, mark the 3rd inc of each set of increases, this is for eye placement*
10. 3 sc, inc x 6, 6 sc, inc x 6, 15 sc= 48
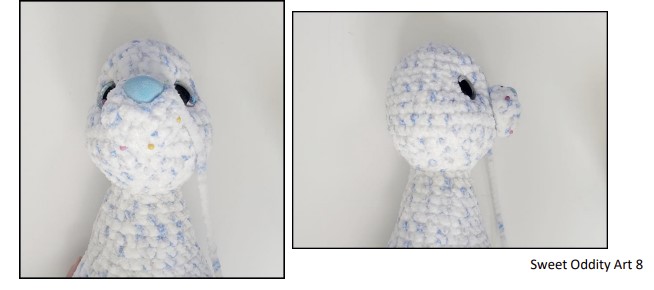
Place eyes between rounds 8 and 9, leaving 10 holes between them. Place them above the stitch markers. Look to pictures on pg. 4 for reference. If you want the sunken eye look, do not place the backs of the eyes on until round 15.
11-12. sc in each st around
13. 6 sc, dec x 3, 12 sc, dec x 3, 18 sc= 42
14. (sc, dec) x 14= 28
15. (5 sc, dec) x 4= 24
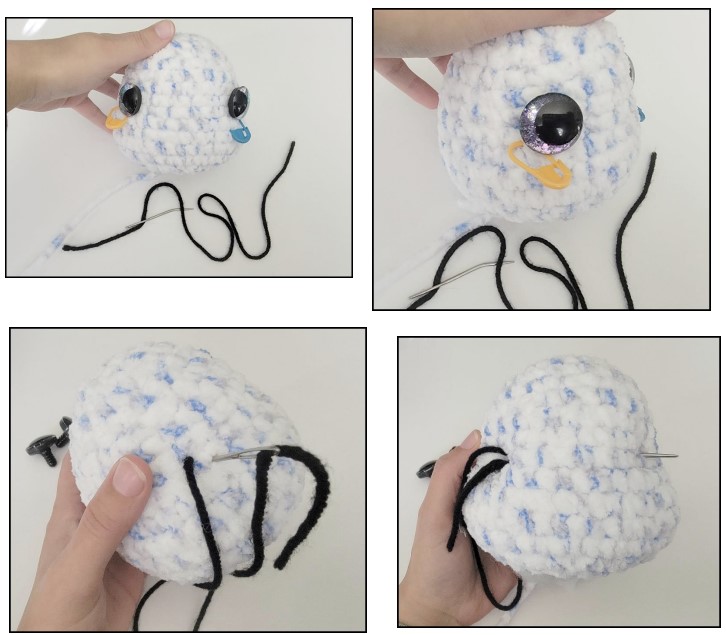
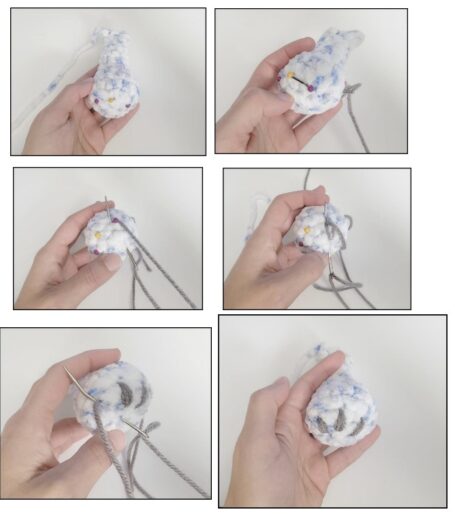
Now for the eyes. Stuff the head well. Cut a long piece of yarn and remove the eyes. Place the needle in the hole where the first eye was and insert the needle into a hole next to the eye hole. Go back and forth between each eye hole repeating the process from the first eye.
Pull slightly on the yarn after going through each hole. Do this about 3 times on each side until you reach the look you want. Follow the pictures for help. There is also a youtube video I have for extra help on this process.
To place the backs of the eyes you will need to remove most of the stuffing to place the washers on the eyes then re stuff it.
16. sc in each st around
17. (2 sc, dec) x 6= 18
F/O
Arms(Make 2):
With Color A:
1. Make 6 sc into a magic ring= 6
2. Increase in each st around= 12
3. (sc, inc) x 6= 18
4. sc in each st around
5. (dec x 3, 3 sc) x 2= 12
6. sc in each st around
Do not stuff the arms from here on
7. (4 sc, dec) x 2= 10
8. sc in each st around
9. (3 sc, dec) x 2= 8
10-13. sc in each st around
Fold the arms in half and sc the opening closed.
If you are choosing to sc the arms into the body, F/O but do not leave a long tail for sewing
If you would rather sew the arms onto the body like me, F/O and leave a long tail for sewing.
Tail:
With Color A:
1. Make 6 sc into a magic ring= 6
2. Increase in each st around= 12
3. sc in each st around
Stuff the tail
4. Dec x 6= 6
F/O and leave a long tail for sewing
Ears(Make 2):
With Color A:
1. Make 6 sc into a magic ring= 6
2. Increase in each st around= 12
3. (3 sc, inc) x 3= 15
4. Sc in each st around
5. (3 sc, dec) x 3= 12
Do not stuff the ears
Fold the ears in half and sc the opening closed. F/O and leave a long tail for sewing
Muzzle:
With Color A:
1. Make 8 sc into a magic ring= 8
2. Increase in each st around= 16
3. Sc in each st around
4. (inc, 7 sc) x 2= 18
Place your nose in between rounds 2 and 3 F/O and leave a long tail for sewing.
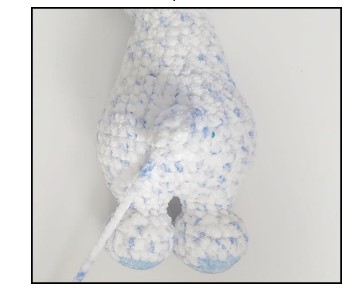
Legs and Body:
Starting with Color B:
Legs(Make 2):
1. Make 6 sc into a magic ring= 6
2. Increase in each st around= 12
3. (sc, inc) x 6= 18
4. (2 sc, inc) x 6= 24
Change to Color A:
(Work the bob st in Color C)
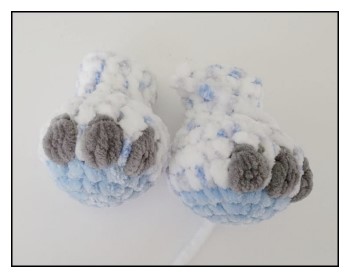
5. 6 sc, (bob, 2 sc) x 2, bob, 11 sc= 24
For directions on the bob stitch, refer to pg.
for help
6. (do not work off the ch 1 from round 5)
Sc in each st around
7. (2 sc, dec) x 6= 18
8. (sc, dec) x 6= 12
Start stuffing the legs
9. sc in each st around
10. (3 sc, inc) x 3= 15
11. (4 sc, inc) x 3= 18
(For the 2nd leg only work 12 sc on round 12)
12. sc in each st around
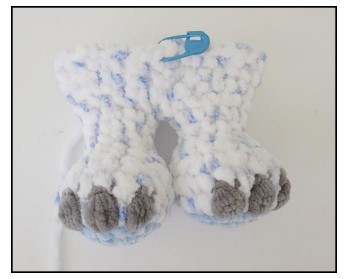
Do not F/O the 2nd leg!
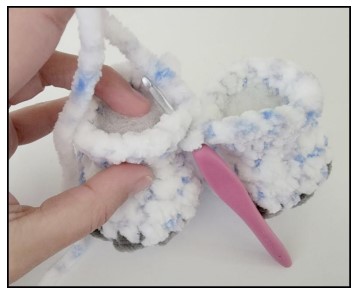
Start connecting the legs to create the body:
1. work a sc on the 1st leg to connect them, work 17 more sc around the 1st leg. Work 18 sc around the the 2nd leg= 36
2. (5 sc, inc) x 6= 42
3. (6 sc, inc) x 6= 48
4-7. sc in each st around
Stuff the body as you work
8. (6 sc, dec) x 6= 42
9. (5 sc, dec) x 6= 36
10. sc in each st around
11. (10 sc, dec) x 3= 33
12. sc in each st around
13. (9 sc, dec) x 3= 30
14. sc in each st around
15. (8 sc, dec) x 3= 27
16. sc in each st around
17. (7 sc, dec) x 3= 24
Body Continued:
*If you are choosing to crochet the arms as you work instead of sewing afterwards*
18: 3 sc, work 4 sc on the arm and body, 8 sc, work 4 sc on the arm and body, 3 sc
*If you are choosing to sew the arms on later, continue on*
18. sc in each st around
19. (2 sc, dec) x 6= 18
20. sc in each st around
F/O and leave a long tail for sewing
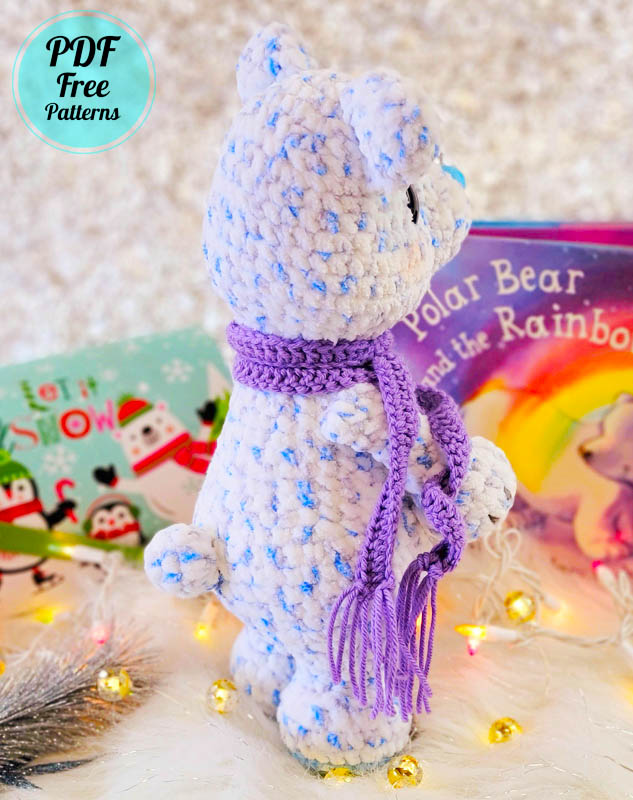
Scarf:
Ch approximately 115
1. dc in the 3rd ch from hook and across
F/O and and some fringe on the edges of the scarf

Assembly
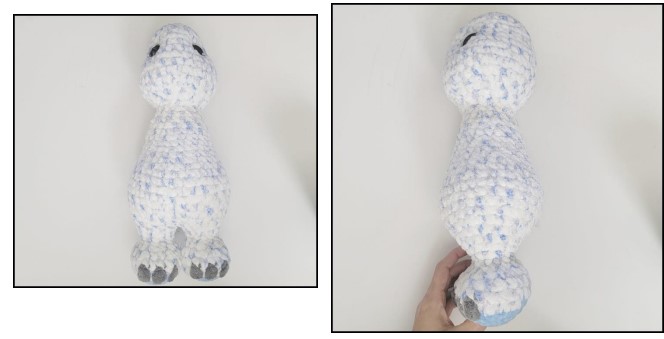
Head and Body:
1. Sew the head to the body. You may need to add more stuffing to the neck as you sew.
Muzzle:
1. Pin the muzzle onto the face in between the eyes.
2. Sew the muzzle onto the face. You may need more stuffing as you sew.
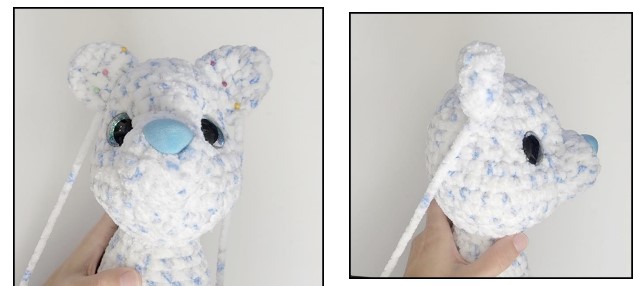
Ears:
1. Pin the ears onto the top of the head.
2. Sew the ears onto the head.
Tail:
1. Pin the tail onto the back of the body.
2. Sew the tail onto the body.
Arms:
1. Embroider some claws onto the arms. Approximately between rounds 3 and 5.
2. Pin the arms onto the side of the body.
3. Sew the arms onto the body.
Embellishments:
1. Add some blush to the cheeks if you want with crayon or actual blush.
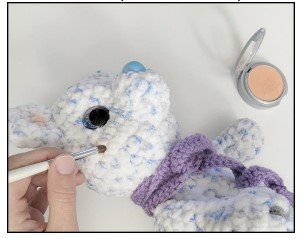
That’s it!
Crochet Polar Bear PDF Amigurumi Free Pattern is a delightful and easy-to-follow pattern for creating a cute and cuddly polar bear amigurumi. This pattern is perfect for both beginners and experienced crocheters, as it includes detailed instructions and step-by-step photos to guide you through the process. With just a few basic stitches, you’ll be able to create a charming polar bear that is sure to become a treasured addition to your collection or a wonderful gift for someone special. The pattern can be downloaded for free, so why not give it a try and see what you can create? Whether you’re looking for a fun project to work on or a unique gift idea, Crochet Polar Bear PDF Amigurumi Free Pattern is definitely worth checking out!


Comments0