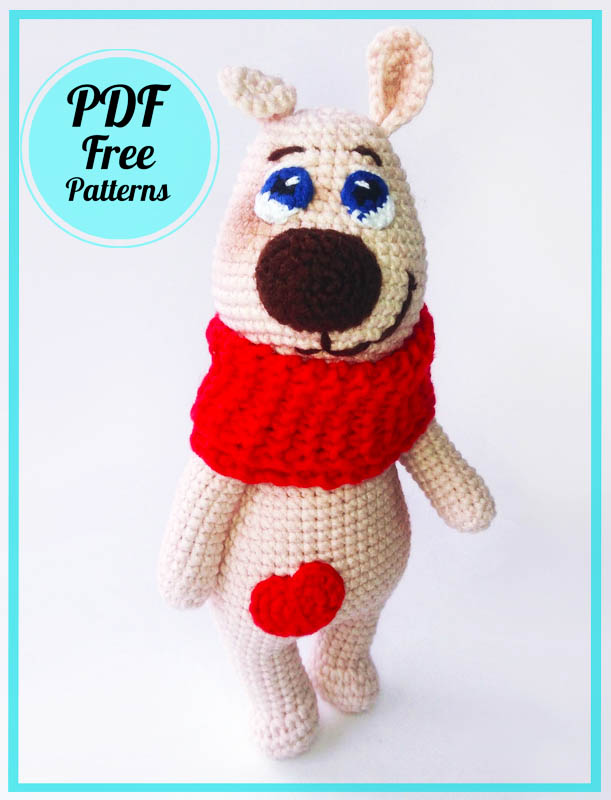
Hello friends. Today I will share a dog amigurumi pattern that I am sure you will like very much. It has a very detailed explanation. This amigurumi pattern made with a great design is completely free. You can easily do it by following the steps while making the crochet dog pattern. You don’t need to know a lot of crochet techniques. The most important point you should pay attention to is the eyes of the amigurumi dog. When you make the eyes carefully, you will have a magnificent dog amigurumi. If you’re ready, let’s start.
Designer: emusatskova_toys
Necessary materials
1. Alize cotton gold hobby (about half a hank)
color No. 382 – for the body
2. Alize cotton gold hobby No. 56 – for a scarf (red)
3. YarnArt Baby for spout No. 338 (brown) completely
a little
4. Some blue, black and white yarn for the eyes (I
used alize cotton gold hobby by sharing
thread into two equal parts)
5. Hook No. 1.6
6. Filler
7. Dry pastels for toning
Abbreviations
AR – Amigurumi Magic ring
MR – Amigurumi Magic ring
3in1 – crochet 3 columns in one loop
sc : Single Crochet
inc : Increase
dec : Decrease
tr : Triple Crochet/ Treble Crochet
st: Stitch
dc : Double Crochet
hdc: Half Double Crochet
sl-st or Slst: Slip Stitch
ch : Chain
tch: Turnin chain crochet
..in : make increase into same stitch as many as the number which is given in front of “inc” abbreviation (exp; 3inc, 4inc..).
FLO : Crochet into front loops only
BLO : Crochet into back loops only
Body
1 Rnd: 12 sc in MR (pull over the joint) (If you use cotter pins with discs instead of a plastic joint, then your 1st row will be divided into two rows: 1 – 6 sc in MR (6), 2 – 6 inc (12), then crochet according to the description)
2 Rnd: (1 sc, 1 inc)*6 (18)
3 Rnd: (2 sc, 1 inc)*6 (24)
4 Rnd: 24 sc (24)
5 Rnd: (the marker runs down the middle of the back) 5 sc, inc, 11 sc, inc,6 sc (26)
6 Rnd: 6 sc, inc, 12 sc, inc, 6 sc (28)
7 Rnd: 28 sc (28)
8 Rnd: 6 sc, inc, 14 sc, inc, 6 sc (30)
9 Rnd: 7 sc, inc, 14 sc, inc, 7 sc (32)
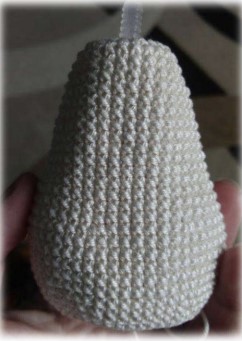
10 Rnd: 32 sc (32)
11 Rnd: 7 sc, inc, 16 sc, inc, 7 sc (34)
12 Rnd: 8 sc, inc, 16 sc, inc, 8 sc (36)
13 Rnd: 36 sc (36)
14 Rnd: 8 sc, inc, 18 sc, inc, 8 sc (38)
15 Rnd: 9 sc, inc, 18 sc, inc, 9 sc (40)
16 Rnd: 9 sc, inc, 20 sc, inc, 9 sc (42)
17 Rnd: 10sc, inc, 20 sc, inc, 10 sc (44)
18 Rnd: 44 sc (44)
19 Rnd: inc, 3 sc, inc, (6sc, inc)*5, 3 sc, inc (shaping the butt and tummy) (52)
20 – 25 Rnd: (6 Rnds) 52 sc (52)
26 Rnd: dec, 3 sc, dec, (6 sc, dec)*5, 3 sc, dec (44)
27 Rnd: 44 sc (44)
28 Rnd: 10 sc, dec, 20 sc, dec, 10 sc (42)
29 – 30 Rnd: 42 sc (42)
31 Rnd: 4 sc, put a marker, then 14 sc, go to the other side into the loop where the marker was placed (we get a ring of 15 sc).
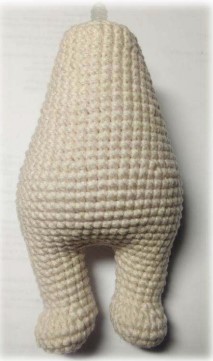
We crochet the right leg:
1-5 Rnd: 15 sc (15)
6 Rnd: 9 sc, inc, 2 sc, inc, 2 sc (17)
7 Rnd: 3 sc, inc, 5 sc, 5 inc, 3 sc (23)Make sure that the increase is in front of the foot.
Move the crochet if necessary.
8-9 Rnd: 23 sc (23)
10 Rnd: (1 dec 1 sc)*8 (15)
11 Rnd: dec*8 Pull the hole.
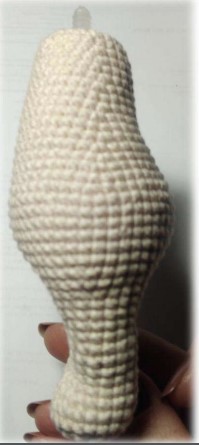
Left leg:
Attach the thread by counting 15 sc in a semicircle
1 Rnd: 15 sc, join in a ring
2 – 6 Rnd: 15 sc (photo)
7 Rnd:2 sc, inc, 2 sc, inc, 9 sc (17)
8 Rnd: sc, 5 inc, 5 sc, inc, 5 sc (23)Increases should be in front of the foot, shift the crocheting if necessary.
9-10 Rnd: 23 sc (23)
11 Rnd: (dec, sc)*8 (15)
12 Rnd: dec*8. Pull the hole.
Fill the leg, sew a hole between the legs.
Head
1 Rnd: 6 sc in MR (6)
2 Rnd: 6 inc (12)
3 Rnd: 3 ch, skip 2 sc, from the 3rd column (sc, inc) * 5 (18)
4 Rnd: 4 sc under the arch of 3 ch, (2 sc, inc) * 5 (24)
5 Rnd: (3 sc, inc)*6 (30)
6 Rnd: (4 sc, inc)*6 (36)
7 Rnd: (5 sc, inc)*6 (42)
8 Rnd: (6 sc, inc)*6 (48)
9 Rnd – 13 Rnd: 48 sc (48)
Align the marker in the middle of the back of the head, focusing on the hole for the joint.
14 Rnd: 12 sc, dec, 5sc, dec, 6 sc, dec, 5 sc, dec, 12 sc (44)
15 Rnd: 44 sc (44)
16 Rnd: 10 sc, dec, 5 sc, dec, 6 sc, dec, 5 sc, dec, 10 sc (40)
17 Rnd: dec, 8 sc, dec, 4 sc, dec, 5 sc, dec, 4 sc, dec, 8 sc, dec (34)
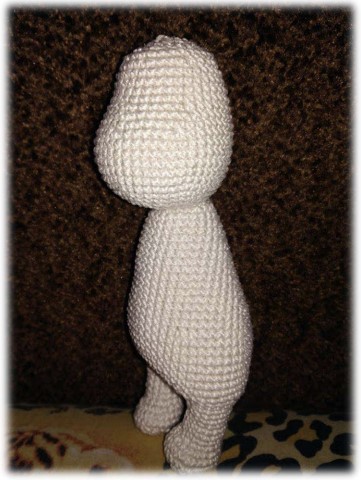
18 – 21 Rnd: 34 sc (34) Attach the head to the body. We stuff in the course of crocheting.
22 Rnd: (3 sc, dec)*6, 4 sc (28)
23 Rnd: 26 sc, dec (27)
24 Rnd: (sc, dec)*9 (18)
25 Rnd: dec*9 (9)
26 Rnd: (dec, sc)*3 (6)
Pull the hole.
Ears:
1 Rnd: 7 ch starting from the second loop from the hook 5 sc, 3 sc in one loop, 5 sc, turn
2 Rnd: 3 slst, sc, 4 inc, sc, 3 slst along the bottom of the ear, 1 ch, 3 sc. Fasten the thread, cut, leaving a long tip for sewing.
The second eye is crocheted in the same way.
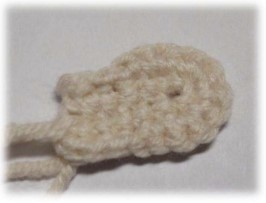
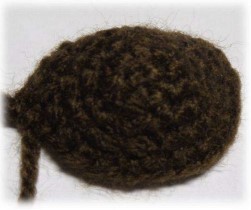
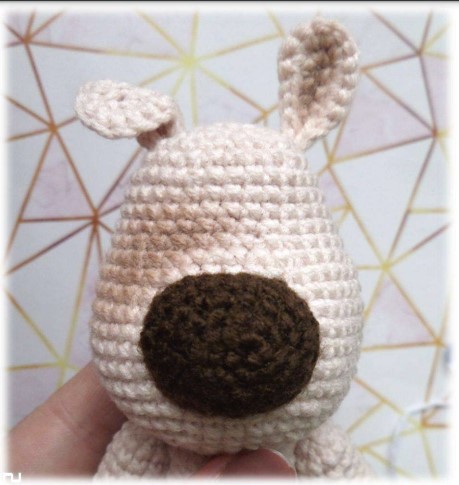
Spout:
1 Rnd: 4 ch, from the second loop from the hook 2 sc, 3sc in one loop, sc, inc
2 Rnd: inc, 2sc, 2 inc, 2 sc, inc
3 Rnd: inc, 4 sc, 2 inc, 4 sc, inc
4 Rnd: 2 inc, sc, dec, sc, 4 inc, 4 sc, 2 inc (23)
5 Rnd: 23 sc. Fasten the thread, cut, leave a long tail for sewing.
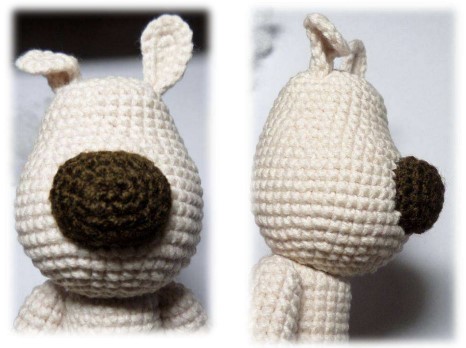
Sew to the head, when a small hole remains – stuff it, sew the hole.
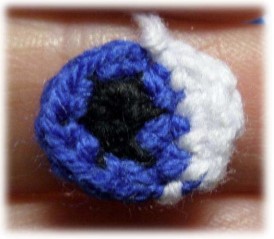
Eyes:
start black
1 Rnd: 5 sc in MR, change thread to blue
2 Rnd: 5 inc, change thread to white
3 Rnd: sc, inc, sc, turn
4 Rnd: skip the first loop, from the second 2 sc, sl-st in the last loop, sl-st in the nearest loop of the 2nd row (blue).
We fix the thread, leave a long tip, go to the opposite side, (for this, without cutting the working thread, I just lay it along the wrong side) we attach to the first loop of the last row, SlSt to the first loop of the 3rd row (white), SlSt to the nearest loop 2nd row (blue).
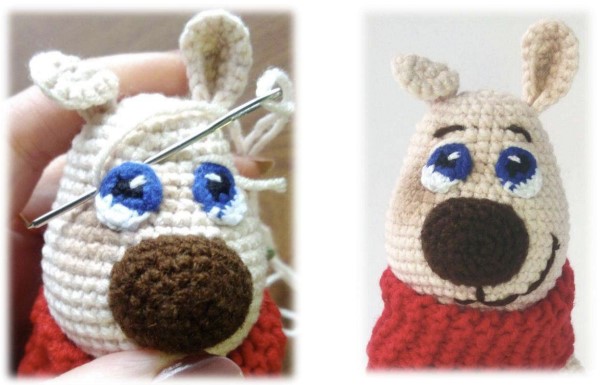
Fasten the thread, leave it for sewing. We crochet the second eye in the same way. Before sewing on the eyes, I tinted the area of one eye (see photo).
We sew on the eyes as in the photo, embroider the upper eyelid (with the main color), eyebrows and a smile (brown).
Arms:
1 Rnd: 6 sc in MR
2 Rnd: 6 inc (12)
3 Rnd– 20 Rnd (18 Rnds): 12 sc (12)
21 Rnd: dec*6 . Pull the hole.
The second handle is crocheted in the same way. We attach the arms to the body with a thread mount.
Tail:
1 Rnd: 6 sc in MR
2 Rnd: 6 sc (6)
3 Rnd: (2 sc, inc)*2 (8)
4 Rnd: 8 sc
5 Rnd: (3 sc, inc)*2 ( 10)
6 Rnd- 7 Rnd: 10 sc (10)
Sew to body.
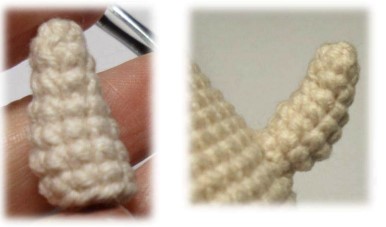
After the toy is fully assembled, we tint the inside of the ear, one side and the ass on one side of the tail.
heart:
1 Rnd: 6 sc in MR
2 Rnd: 2 inc, (sc, dc, sc) in one loop, 2 inc, slst
3 Rnd: sc, inc hdc, hdc, inc, sc, (sc, hdc, sc) in one loop, sc, inc, hdc, inc hdc, sc, slst. Yarn fasten, cut.
Sew a heart on the dog.

Cute Crochet Dog PDF Amigurumi Free Pattern is a delightful and easy-to-follow pattern that allows you to create a charming and adorable crochet dog. This pattern is perfect for both beginners and experienced crocheters, as it provides clear instructions and step-by-step guidance to help you create a lovely plush dog in no time. The pattern includes detailed diagrams and photos to ensure that you achieve the desired look and feel of your finished dog. With this pattern, you can customize your dog’s appearance by choosing from various colors and yarn types. You can also adjust the size of your dog to make it suitable for different purposes, such as a toy or a decorative item. The pattern uses basic crochet stitches, making it accessible to everyone, and the end result is a wonderfully soft and cuddly dog that will be cherished by children and adults alike. So why not try your hand at creating a Cute Crochet Dog today? Download the PDF Amigurumi Free Pattern now and start crafting!


Comments0