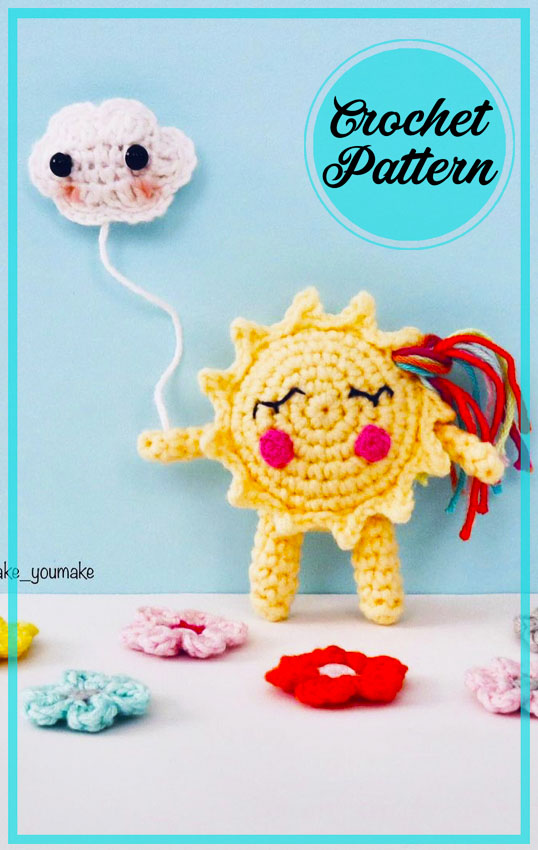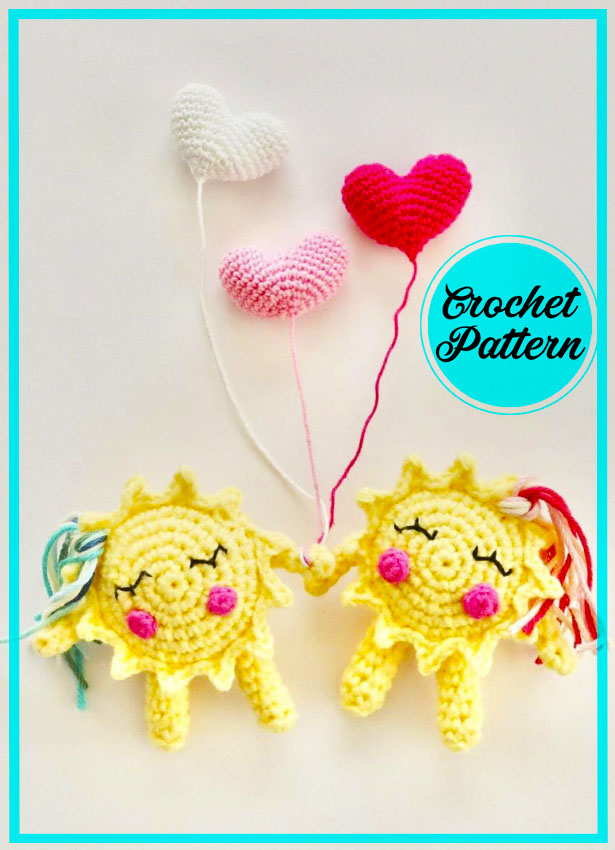
Hello friends, today I will share a very cute amigurumi pattern for beginners. The crochet sun pattern is very easy to make. Explaining the sun and its benefits to your children is a good way to educate them. In fact, you can help your child’s education by preparing such amigurumi patterns with crochet amigurumi patterns. If the amigurumi sun has arms and legs, I think it is the right decision. Now let’s make a crochet sun together.
Designer: @imake_youmake
Materials
– Yarn: Cotton or any DK yarn in yellow and white, pink -fingering weight and colours of your choice for the rainbow.
– black embroidery thread to embroider Sunnie’s eyes
– 5mm black safety eyes or beads for Cloudie – 2.5 mm hook
– scissors
– craft glue
– yarn needle
– a stitch marker
– fiber fill
– blush for Cloudie’ s cheeks
Abbreviations
AR – Amigurumi Magic ring
MR – Amigurumi Magic ring
App – application
ll – lift loop
sc : Single Crochet
inc : Increase
dec : Decrease
tr : Triple Crochet/ Treble Crochet
st: Stitch
dc : Double Crochet
hdc: Half Double Crochet
sl-st : Slip Stitch
ch : Chain
..in : make increase into same stitch as many as the number which is given in front of “inc” abbreviation (exp; 3inc, 4inc..).
FLO : Crochet into front loops only
BLO : Crochet into back loops only
BL : Bobble Stitch – do 5dc all in the same stitch and then yarn over and pull through all the loops on your hook (the original loop + 1 loop for each partially completed dc).
Head (in yellow)
Rdnl: Esc in MR (6)
Rnd2: 6inc (12)
Rnd3: (1sc, 1inc) 6 times (18)
Rnd4: (1sc, 1inc, (2sc, 1inc) 5 times, 1sc (24)
Rnd5: (3sc, 1inc) 6 times (30)
Rnd6: 2sc, 1inc, (4sc, 1inc) 5 times, 2sc (36)
Rnd7: Work in FL of round 6. 1 slst, (3ch, 1slst in 2nd ch from the hook, lsc in the 3rd ch, skip 1st 2slst in the front loops of round 6) repeat 11 times. Work the last ray as follows: 3ch, 1slst in the 2nd ch from the hook, 1sc in the 3rd ch, skip 1st, 1slst and 1slst in the BL of the sl st that you made at the beginning of the rnd. (36)
Rnd8: Work in the BL of round 6: lsIst in the first BL (this is the 1st stitch of the rnd, you may want to place a SM in it), 1sc in each stitch around (36)
Rnds 9 and 10: 1sc around (36)
Rnd11: Work in BLO (4sc, ldec) 6 times (30)
Rnd12: (3sc, 1 dec) 6 times (24)
Rnd13: (2sc, 1 dec) 6 times (18)
Rnd14: (lsc, 1 dec) 6 times (12)
Stuff the head.
Rnd15: 6dec (6)
Close the head and secure the yarn.
Legs (in yellow)
Make 2
Rnd1: 6sc in MR
Rnd2: BLO 6sc (6)
Rnds3-6: 6sc (6) Finish with a slst.
Stuff the legs and leave a long tail for sewing.
Arms (in yellow)
Make 2
Rnd1: 4sc in MR
Rnds2-5: 4sc (4)
Finish with a slst.
Don’t stuff the arms.
Leave a long tail for sewing.
CHEEKS (in pink – I used fingering weight yarn)
Make 2
6 sc in MR. Leave a long tail for sewing the cheeks on the face.
ASSEMBLY GUIDE
Using embroidery black thread, embroider the eyes. Use the photo as a guide.
Sew the cheeks approximately 4 stitches apart.
Sew the legs first, 3 stitches apart.
Sew the arms, 4 stitches above the legs between rounds 9 and 10.
Cut 13cm-long strands of yarn of different colours (they can be in the colours of the rainbow) and using a hook pass them under a ray and make a knot.

Cute Sun Amigurumi is a delightful and easy-to-follow free PDF crochet pattern that allows you to create a charming little sun-shaped amigurumi. This pattern is perfect for both beginners and experienced crocheters looking for a quick and satisfying project. The finished sun amigurumi makes a lovely addition to your home decor or can be used as a cute gift for a loved one. With its simple design and bright, cheerful appearance, the Cute Sun Amigurumi is sure to bring a smile to anyone’s face. So why not give it a try and enjoy the satisfaction of creating this adorable little sun?


Comments0