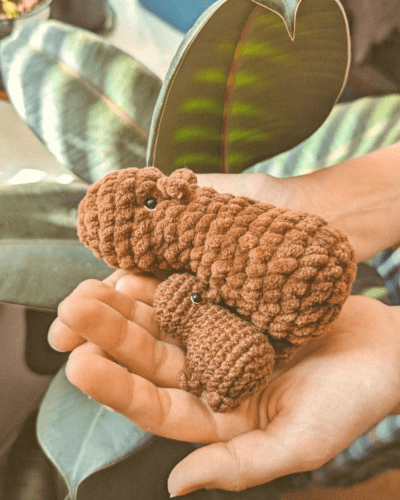
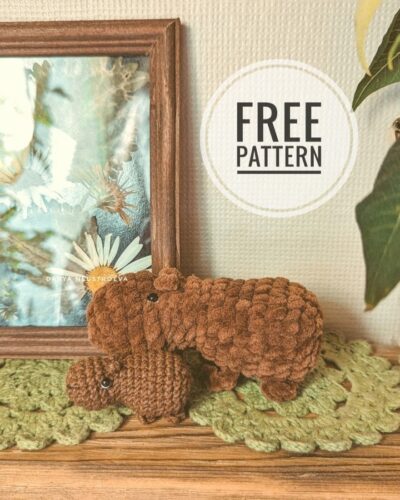
add a new one to the free amigurumi pattern. You can always follow us to reach the newest, most popular, most accurate pattern. Here is Amigurumi Capybara;
Designed and photos by Darya Neustroeva
Instagram: @darya_neustroeva
Materials:
- For a big capybara: Wolans Bunny Baby yarn, 2.5 mm crochet hook, 6 mm black beads for eyes
- For a little one: YarnArt Jeans yarn, 2.0 mm crochet hook, 4 mm black beads for eyes
- Black (for a nose) and white (for an eye whites) embroidery floss
- Sewing needle and scissors
- Fiberfill
Abbreviations:
R = row
ch = chain
sl st = slip stitch
sc = single crochet
inc = 2 sc in the next stitch
dec = single crochet 2 stitches together
( ) = number of stitches you should have at the end of the round/row
( ) *6 = repeat whatever is between the brackets the number of times stated
F.o. = fasten off
Free crochet capybara pattern
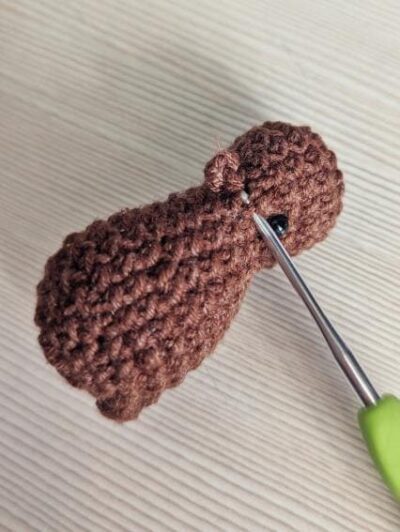
Head-body-legs (one piece)
R 1: 6 sc in mc (6)
R 2: (inc) *6 (12)
R 3: (1 sc, inc) *6 (18)
R 4-6: 18 sc (3 rows)
R 7: 6 dec, 6 sc (12)
R 8: 12 sc
R 9: 6 sc, 6 inc (18)
R 10: 18 sc
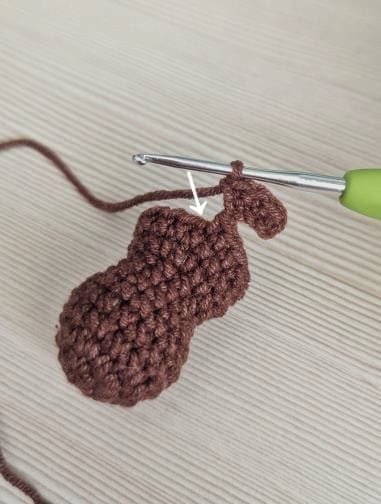
R 11: 12 sc, 4 ch, from the 2nd ch from hook: 3 sc, 2 sc (on the body), 4 ch, from the 2nd ch from hook: 3 sc, 4 sc (on the body) (18)
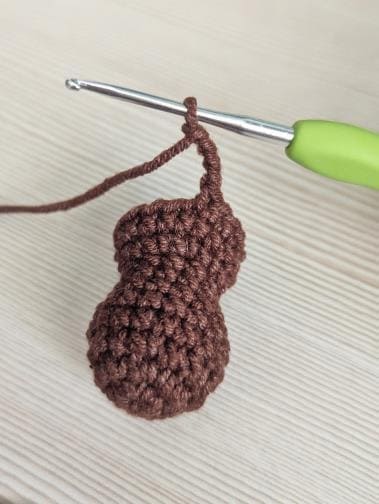

R 12: 18 sc
R 13: (2 sc, inc) *6 (24)
R 14: 24 sc
R 15: 15 sc, 4 ch, from the 2nd ch from hook: 3 sc, 4 sc, 4 ch, from the 2nd ch from hook: 3 sc, 5 sc (24)

R 16: (2 sc, dec) *6 (18)
R 17: (1 sc, dec) *6 (12)
R 18: (dec) *6 (6)
F.o.
Sew black beads between R 6 and R 7.

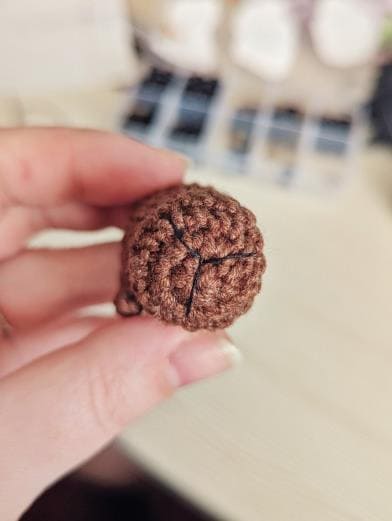
Embroider a nose and eye whites.
Ears (make 2)
Attach the yarn to the R 7-8 and make 3 ch, then sl st in the same place where you was attached the yarn.


F.o. and weave the yarn end into the head.
Finish Amigurumi Capybara.


Comments0