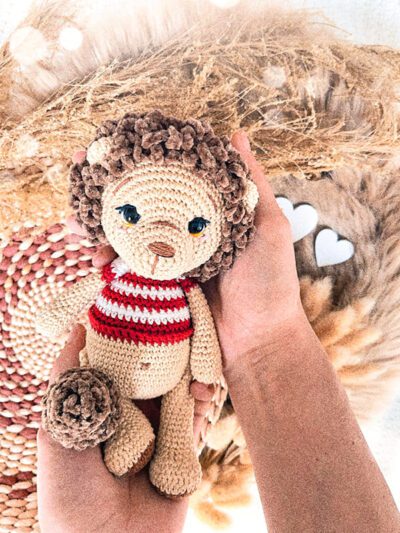
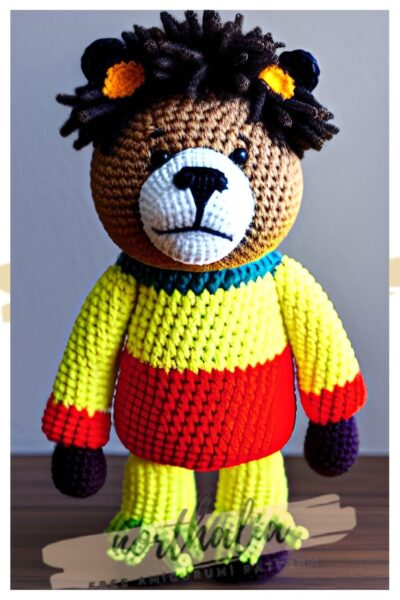
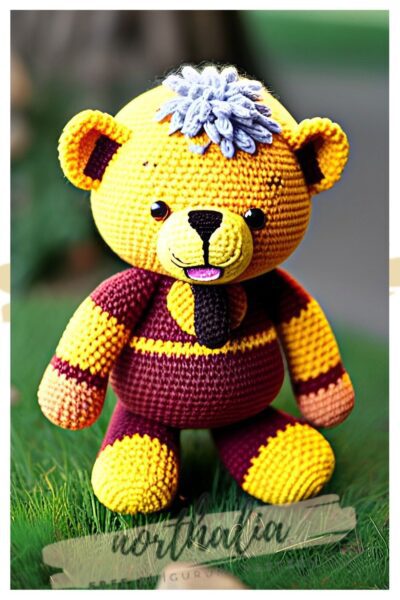
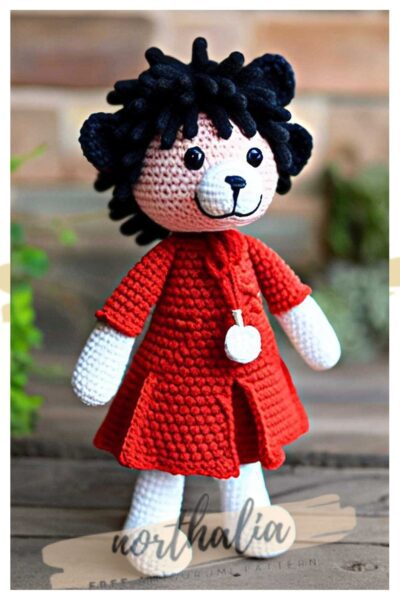
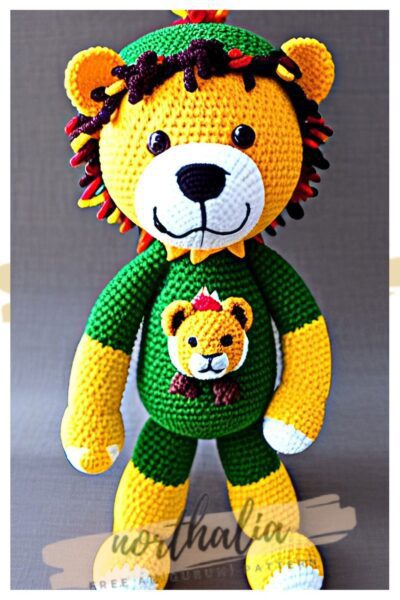
add a new one to the free amigurumi pattern. You can always follow us to reach the newest, most popular, most accurate pattern. Here is Crochet Lion Yuma;
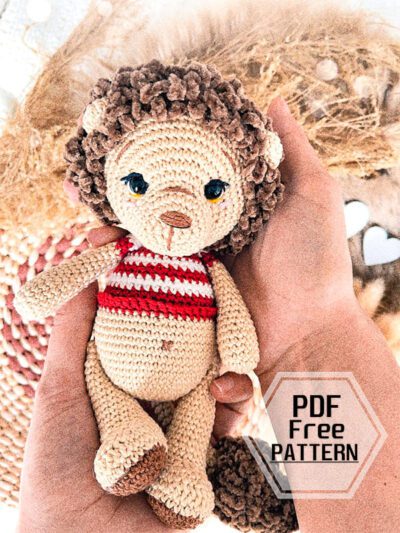
Designer: inami_haekelzauber
Materials
• Cotton (e.g. scheepjes schachenmayr catania) 125m/ 50 g 1 skein in beige
• 1/2 skein in brown
• 2 colors of your choice for the t-shirt (ı used red/white)
• 1/2 skein of katia velvet (for mane and tail)
• Safety eyes 9 mm
• White/ black/ yellow leftover yarn for the eyes, pink for the cheeks and brown for the nose
• Crochet hook 2.5 mm and 3.00 mm (for fluffy bunny tail)
• Scissors
• Darning needle, embroidery needle (for the tension to the eyes)
• Stitch markers, pins
• Fiberfill/ stuffing
Abbreviations
MR– Magic ring
Rnd– Round
Sc– Single crochet
Ch– Chain
Inc– Increase
Dec– Decrease
FLO– Front loop only
BLO– Back loop only
Hdc– Half double crochet
Dc– Double crochet
Sl st– Slip stitch

Head
(Start with beige)
Rnd 1: 8 sc in MR (8)
Rnd 2: (inc)*8 (16)
Rnd 3: (1sc,inc)*8 (24)
Rnd 4-6: 24 sc (3 rounds) (24)
Rnd 7: 8sc,(inc)*8, 8sc (32)
Rnd 8: 8sc,(inc,1sc)*8, 8sc (40)
Rnd 9: (4sc,inc)*8 (48)
Rnd 10: (5sc,inc)*8 (56)
Rnd 11-15: 56 sc (5 rounds) (56)
Insert the safety eyes between rounds 7 and 8, 12 stitches apart.
(Change color to brown)
Rnd 16-19: 56 sc BLO (4 rounds)
Rnd 20: (5sc,dec)*8 (56)
Rnd 21: 48 sc (48)
Rnd 22: (4sc,dec)*8 (48)
Rnd 23: 40 sc (40)
Rnd 24: (3sc,dec)*8 (32)
Rnd 25: 32 sc (32)
Start stuffing the head
Rnd 26: (2sc,dec)*8 (24)
Rnd 27: 24 sc (24)
Rnd 28: (1sc,dec)*8 (16)
Rnd 29: (dec)*8 (8)
Stuff the head firmly. Fasten off and weave through the front loops of the 8 remaining stitches, pull tightly.
Indent the eyes to make Yuma look even cuter.
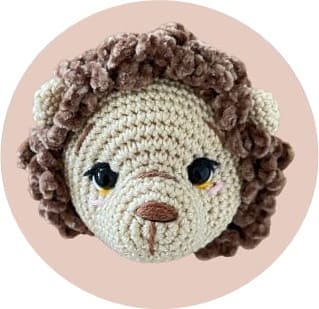
Mane (Katia Velvet):
In the front loops of Rnd 16-19, crochet 7ch, 1sc to make attaching the head to the body easier, leave 6 sc open on the left and right (on the bottom of the head).
End each round with a turning chain and continue with 7ch, 1sc.
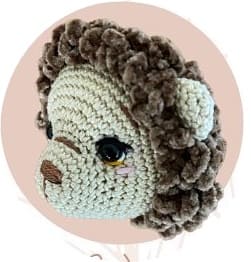
Ears (Make 2)
Rnd 1: 6 sc in MR (6)
Rnd 2: (inc)*6 (12)
Rnd 3: (1sc,inc)*6 (18)
Rnd 4-5: 18 sc (2 rounds) (18)
Leave a long tail for sewing later (after you finished the mane).
Arms without t-shirt (2 pcs)
(Beige)
Rnd 1: 7 sc in MR (7)
Rnd 2: (inc)*7 (14)
Rnd 3-6: 14 sc (4 rounds) (14)
Rnd 7: (5sc,dec)*2 (12)
Rnd 8: 12 sc (12)
Rnd 9: (4sc,dec)*2 (10)
Stuff the arms upto this stitch.
Rnd 10-22: 10 sc (13 rounds) (10)

Close the hole with 5 sc and leave a long tail for sewing.
Arms with t-shirt (2 pcs)
(Start with beige)
Rnd 1: 7 sc in MR (7)
Rnd 2: (inc)*7 (14)
Rnd 3-6: 14 sc (4 rounds) (14)
Rnd 7: (5sc,dec)*2 (12)
Rnd 8: 12 sc (12)
Rnd 9: (4sc,dec)*2 (10)
Stuff the arms upto this stitch.
Rnd 10-18: 10 sc (9 rounds) (10)
Rnd 19-20: red 10 sc (2 rounds) (10)
Rnd 21-22: white 10 sc (2 rounds) (10)

Close the hole with 5 sc and leave a long tail for sewing.
Legs (Make 2)
(Start with brown)
Rnd 1: 6 sc in MR (6)
Rnd 2: (inc)*6 (12)
Rnd 3: (1sc,inc)*6 (18)
Rnd 4: (2sc,inc)*6 (24)
Change color to beige.
Rnd 5: (3sc,inc)*6 (30)
Rnd 6: 12sc, 6dc, 12sc (30)
Rnd 7: 30 sc (30)
Rnd 8: 9sc, (dec)*6, 9sc (24)
Rnd 9: 8sc, (dec)*4, 8sc (20)
Rnd 10: 8sc, (dec)*2, 8sc (18)
Rnd 11: 18 sc (18)
Rnd 12: (4sc,dec)*3 (15)
Stuff the bottom part of the legs firmly.
Rnd 13-22: 15 sc (10 rounds) (15)
Rnd 23: (3sc,dec)*3 (12)
Rnd 24: 12 sc (12)
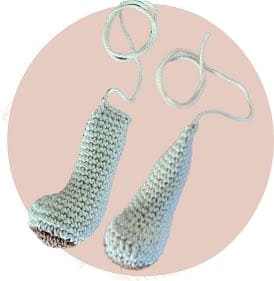
Close the hole with 6 sc. The decreases should stitch forward, in parallel with the closed side (see picture). Leave a long tail for sewing.
Tail
(Start with Katia Velvet)
Rnd 1: 6 sc in MR (6)
Rnd 2: (1sc,inc)*3 (9)
Rnd 3: 9 sc (9)
Rnd 4: (2sc,inc)*3 (12)
Rnd 5: 12 sc (12)
Rnd 6: (1sc,inc)*6 (18)
Rnd 7: (2sc,inc)*6 (24)
Rnd 8-11: 24 sc (4 rounds) (24)
Rnd 12: (2sc,dec)*6 (18)
Stuff the bottom part firmly.
Rnd 13: (dec)*9 (9)
Change color to beige.
Rnd 14: 9 sc (9)
Rnd 15: 2sc, dec, 2sc, dec, 1sc (7)
Rnd 16-30: 7 sc (5 rounds) (7)
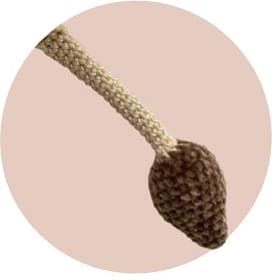
Close the hole with 3 sc and leave a long end for sewing.
Body without t-shirt
(Beige)
Rnd 1: 6 sc in MR (6)
Rnd 2: (inc)*6 (12)
Rnd 3: (inc)*12 (24)
Rnd 4: (3sc,inc)*6 (30)
Rnd 5: (4sc,inc)*6 (36)
Rnd 6: (5sc,inc)*6 (42)
Rnd 7: (6sc,inc)*6 (48)
Rnd 8: (7sc,inc)*6 (54)
Rnd 9-15: 54 sc (7 rounds) (54)
Rnd 16: (7sc,dec)*6 (48)
Rnd 17-18: 48 sc (2 rounds) (48)
Rnd 19: (6sc,dec)*6 (42)
Rnd 20: 42 sc (42)
Rnd 21: (5sc,dec)*6 (36)
Rnd 22-23: 36 sc (2 rounds) (36)
Rnd 24: (4sc,dec)*6 (30)
Rnd 25-26: 30 sc (2 rounds) (30)
Rnd 27: (3sc,dec)*6 (24)
Rnd 28: 24 sc (24)
Rnd 29: (2sc,dec)*6 (18)
Rnd 30: 18 sc (18)
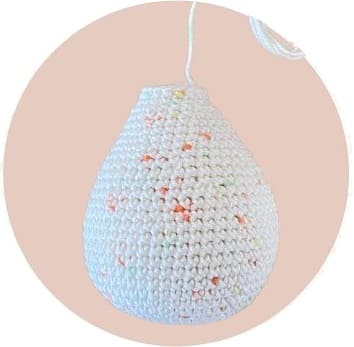
Stuff the body firmly.
Finish the round with a slst and leave a long tail for sewing.
Body with t-shirt
(Start with beige)
Rnd 1: 6 sc in MR (6)
Rnd 2: (inc)*6 (12)
Rnd 3: (inc)*12 (24)
Rnd 4: (3sc,inc)*6 (30)
Rnd 5: (4sc,inc)*6 (36)
Rnd 6: (5sc,inc)*6 (42)
Rnd 7: (6sc,inc)*6 (48)
Rnd 8: (7sc,inc)*6 (54)
Rnd 9-15: 54 sc (7 rounds) (54)
Rnd 16: (7sc,dec)*6 (48)
Rnd 17: red 48 sc (48)
Rnd 18: red BLO 48 sc (48)
Rnd 19: red (6sc,dec)*6 (42)
Rnd 20: white 42 sc (42)
Rnd 21: white, (5sc,dec)*6 (36)
Rnd 22-23: red 36 sc (2 rounds) (36)
Rnd 24: white, (4sc,dec)*6 (30)
Rnd 25: white 30 sc (30)
Rnd 26: red 30 sc (30)
Rnd 27: red (3sc,dec)*6 (24)
Rnd 28: white 24 sc (24)
Rnd 29: white (2sc,dec)*6 (18)
Rnd 30-31: beige 18 sc (2 rounds) (18)
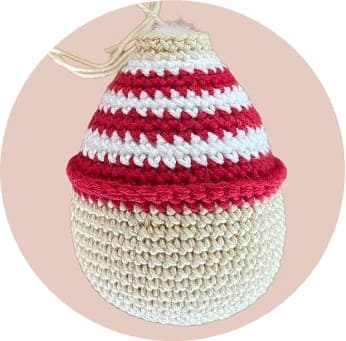
Stuff the body firmly.
Finish the round with a slst and leave a long tail for sewing.
Cuffs: hold the body upside down and crochet a sc in each FLO of Rnd 18 using red yarn.
Assembling the head
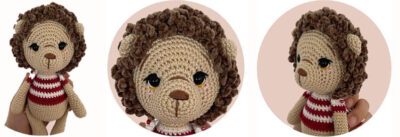
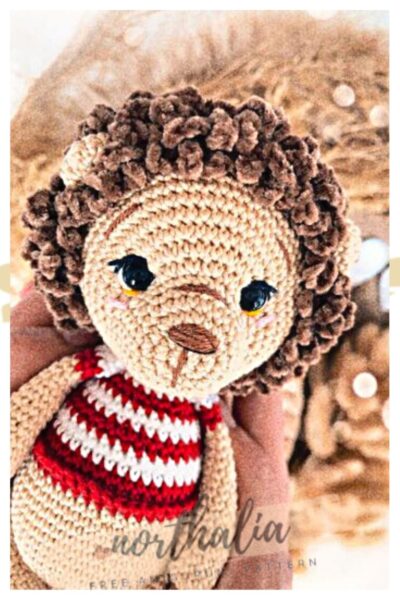
I used a white thread for creating the eye-rim. With a colored thread (yellow in my case) add the detail below the eye.
The eyelid was embroidered with black yarn, the eyelashes with black embroidery floss.
Between rnd 2 and 3, ı embroidered the nose with brown yarn with a with of 9 stitches. I also added some black details under the nose.
For the eyebrows, ı used brown yarn. They were embroidered in rnd 11 using 5 stitches, with 13 stitches between them.
You can always add cheeks below the eyes using pink yarn (width of 2 stitches).
Sew the ears to the left and right of the head between the first and second round of the mane.
Assembling the body
Sew the head onto the body.
Sew the arms to the left and right side of the body, directly below the head. Make sure to allign the stripes of the arms with the ones on the t-shirt (when making Yuma with a t-shirt).
Sew the tail in the middle of the body, in rnd 9.
Sew the legs to the left and right side of the body, in rnd 9, with a distance of 22 stitches.Attach the inside of the leg to rnd 7 to avoid sticking out.

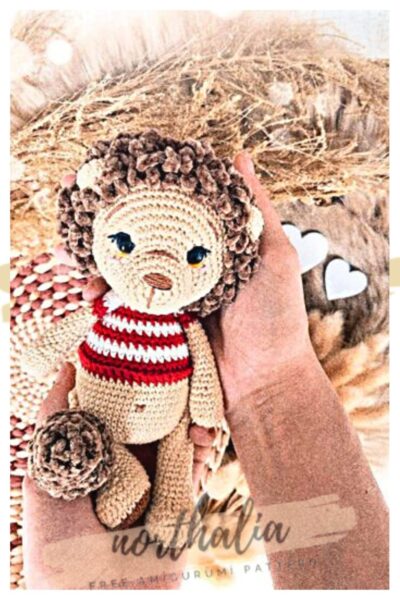
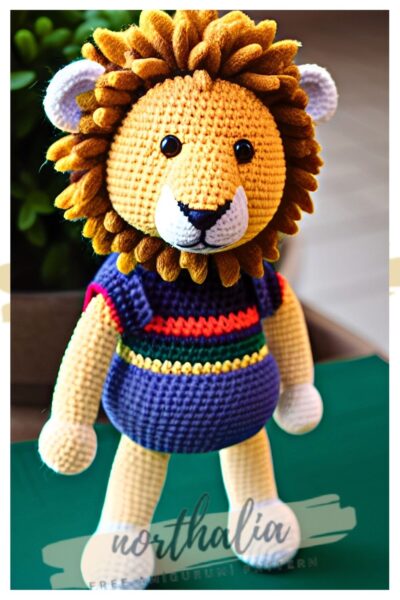
Congratulations, finish Crochet Lion Yuma.




Comments0