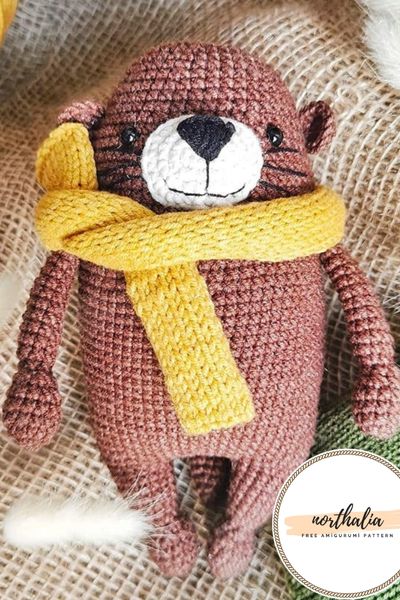
add a new one to the free amigurumi pattern. You can always follow us to reach the newest, most popular, most accurate pattern. Here is Crochet Sea Otter Amigurumi;
Designer: ekaterina.craft
Necessary materials and tools
• YarnArt Jeans main color 70 (brown), some milk yarn, I have YarnArt Jeans 05, for muzzle, also black yarn for embroidery details and yarns of any scarf shade you like
• Eyes on a secure mount with a diameter of 5 or 6 mm (you can also choose sew-on eyes of the same size, if the toy is not intended for children)
• Hook number 2
• Knitting needles number 3
• Sewing needle
• Filler (sintepuh, holofiber or their analogues that you like more)
• A marker (for the convenience of marking the beginning of a row, if it is not there, you can use a contrast thread colors)
• Scissors
• Sewing pins (for ease of assembly toys)
Abbreviations
MR– Magic ring
Sc– Single crochet
Inc– Increase
Dec– Decrease
Ch– Chain
Slst– Slip Stitch
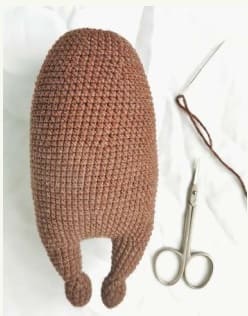
Legs (Make 2)
Rnd 1. 6 sc in MR (6)
Rnd 2. (1sc,1inc)*3 (9)
Rnd 3. (2sc,1inc)*3 (12)
Rnd 4-5. 12 sc (12)
Gradually add filler, then do it it will be hard.
Rnd 6. (2sc,1dec)*3 (9)
Rnd 7. (1sc,1dec)*3 (6)
Rnd 8. 6 sc (6)
Rnd 9. 6 inc (12)
Rnd 10. 12 sc (12)
Rnd 11. (3sc,1inc)*3 (15)
Rnd 12-14. 15 sc (15)
Cut the thread.
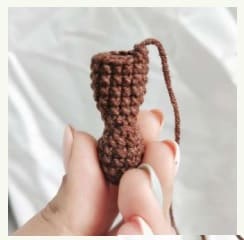
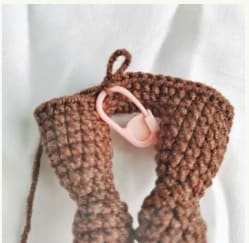
We knit the second leg exactly the same way, but we do not cut the thread, but we continue to knit. Recruiting 6 lifting loops and connect two legs together (1st column of the first row we knit the bodies first free loop on the second leg)
Body
Rnd 1. 15 sc on one leg, 6 sc on one side of the lifting loops, 15 sc on the second leg, 6 sc on the other side lifting loops (42)
Put a mark on the last loop of this row, this will be the beginning of the next row.
Rnd 2. (5sc,1inc)*7 (49)
Rnd 3. (6sc,1inc)*7 (56)
Rnd 4-9. 56 sc (56)
Rnd 10. (7sc,1inc)*7 (63)
Rnd 11-21. 63 sc (63)
Rnd 22. (7sc,1dec)*7 (56)
Rnd 23-32. 56 sc (56)
Rnd 33. (6sc,1dec)*7 (49)
Rnd 34. 49 sc (49)
Rnd 35. (5sc,1dec)*7 (42)
Rnd 36-38. 42 sc (42)
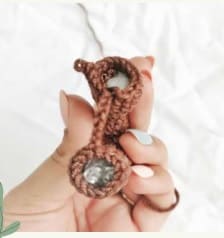
At this stage, insert the eyes between 33 and 34 rows at a distance of about 10 columns from each other. Not forget to stuff the toy.
Rnd 39. (4sc,1dec)*7 (35)
Rnd 40-41. 35 sc (35)
Rnd 42. (3sc,1dec)*7 (28)
Rnd 43. (1sc,1dec)*7 (19)
Rnd 44. 9 dec, 1 sc (10)
Rnd 45. 5 dec (5)
We tighten the edges of knitting and hide the thread.
Arm (Make 2)
Rnd 1. 6 sc in MR (6)
Rnd 2. 6 inc (12)
Rnd 3-5. 12 sc (12)
Rnd 6. 6 dec (6)
Rnd 7. 6 sc (6)
Rnd 8. (1sc,1inc)*3 (9)
Rnd 9-19. 9 sc (9)

Stuffing handles less than half, so that they did not bristle after sewing.
Fold the handles in half and we knit 4 sc for two walls, leave the thread for sewing.
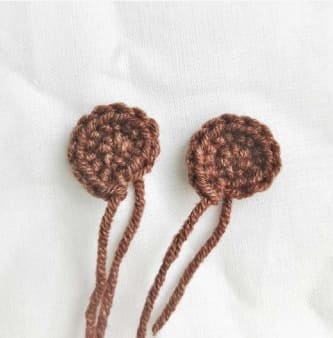
Ears (Make 2)
Rnd 1. 6 sc in MR (6)
Rnd 2. 6 inc (12)
Don’t forget to leave thread for sewing ears to head.
Tail
Do not stuff.
Rnd 1. 6 sc in MR (6)
Rnd 2. (1sc,inc)*3 (9)
Rnd 3. 9 sc (9)
Rnd 4. (2sc,inc)*3 (12)
Rnd 5. 12 sc (12)
Rnd 6. (3sc,inc)*3 (15)
Rnd 7. 15 sc (15)
Rnd 8. (4sc,inc)*3 (18)
Rnd 9-12. 18 sc (18)
Rnd 13. (5sc,inc)*3 (21)
Rnd 14-16. 21 sc (21)
Rnd 17. (6sc,inc)*3 (24)
Rnd 18-19. 24 sc (24)
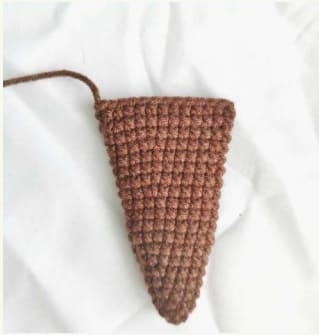
Fold in half and for both we crochet the walls 12sc.
Muzzle
Crochet yarn other color.
Rnd 1. 5 ch
Rnd 2. in the second from the hook 3 sc, 3sc in 1 loop, 2 sc, 2 sc in 1 loop (10)
Rnd 3. 1 inc, 2sc, 3inc, 2sc, 2inc (16)
Rnd 4. 2 inc, 3sc, 4inc, 3sc, 3inc (24)
Rnd 5. 1 sc, 3inc, 4sc, 2inc, 3sc, 2inc, 4sc, 1 slst.
(we do not crochet the row to the end).

Scarf
We crochet with knitting needles of size number 3 collect 14 loops, then knit in stocking stitch to the desired size. At I got about 30 cm.
If you don’t have the skill knitting – nothing scary, you can connect crochet scarf. For this dial 15 ch and in the second from hook start knitting sc to the end of the row. Then turning rows complete the whole canvas scarf of the required length.
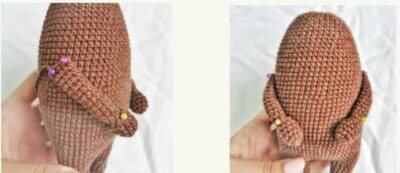
Assembly
We sew the handles between the 24th and 26th rows of the body, at an angle. In order to do this as smoothly as possible and symmetrically, first secure the handles with pins and only then sew on with thread.
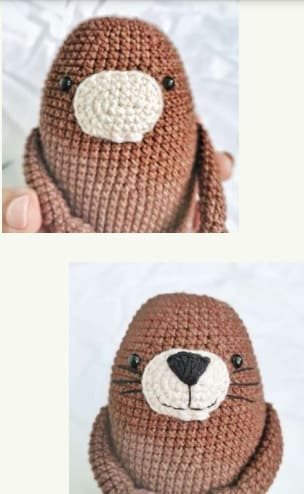
We sew the muzzle between the eyes and lightly stuff it so that it protrudes a little forward.
A nose is embroidered on the muzzle, as shown in the photo. For mouth and mustache design separate from the main thick thread a thin thread, and she embroider elements. So they become more accurate and correspond to the sizes toys.
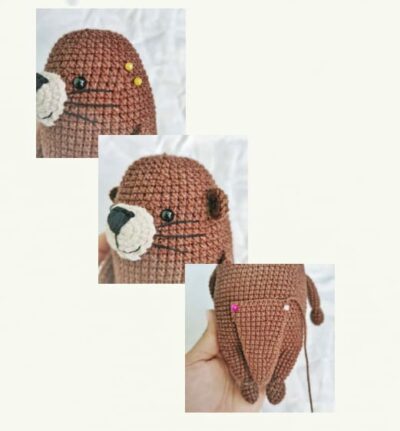
The ears must be located between 34 and 36 body rows, approx.
At a distance of 6 single crochet from peephole (also at first mark their position pins).
Sew the tail on the back between 14 and 15 rows body.
It remains to tie a scarf and your crochet amigurumi toy is ready!
Tip: don’t try to sew everything exactly to the millimeter, in the case of amigurumi toys it almost impossible because rows go in a spiral.
And if my recommendations for accurate the location of the parts of the toy go against your vision do as you see fit.
After all, it is a creative process each toy is obtained unique.
Crochet Sea Otter Amigurumi Free Pattern is a delightful and fun pattern for all the sea lovers out there. This adorable amigurumi pattern allows you to create a cute little sea otter that can be used as a cuddly toy or a decorative item. The pattern is easy to follow, making it perfect for both beginners and experienced crocheters. You will need basic crochet skills and some soft yarn in shades of brown and white to complete this project. The finished sea otter amigurumi is sure to bring joy and smiles to anyone who sees it. So, grab your crochet hook and get ready to create a cute and huggable sea otter today!


Comments0