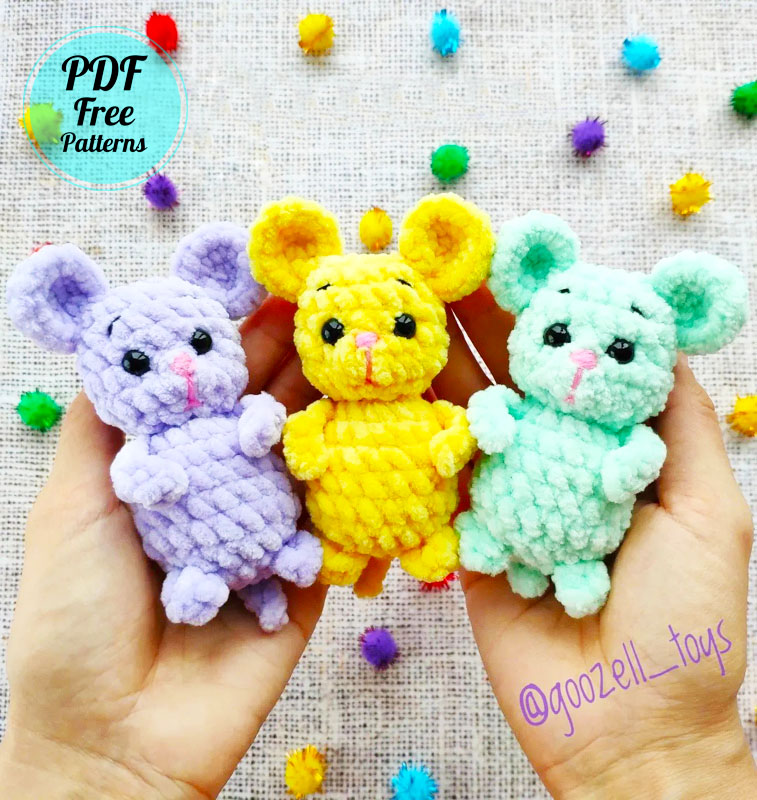
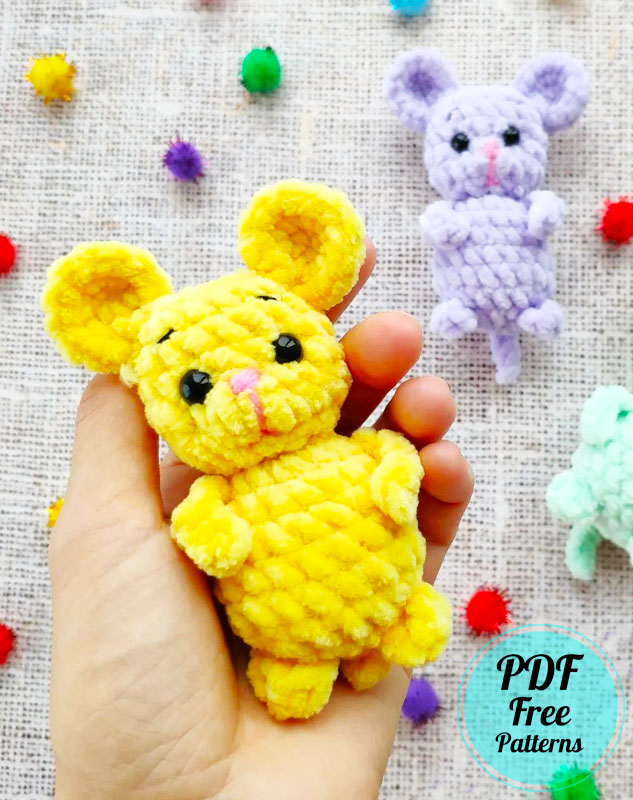
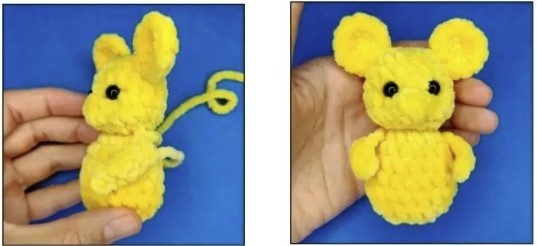
Hello my dears, I have given information about mouse amigurumi patterns before and I have shared free amigurumi patterns. Now if you are ready, I will share a new mouse amigurumi pattern. The crochet mouse pattern that I will share today has a very simple design and a very detailed explanation. In this way, I think you can make the tiny mouse amigurumi toy much easier. The amigurumi mouse has a chubby body, but its arms and legs seem to be quite small. Let’s not forget that the mouse amigurumi has a small tail.
ETSY store – GoozellToys
Instagram goozell_toys_pattern
YouTube – GoozellToys
To crochet you need:
– plush yarn Himalaya Dolphin Baby or analogues (100% polyester, 100g/120 mt or 3,53 oz/131 yrds) – less than half 1 skein;
– 4 mm hook / US size G;
– 12mm safety black eyes (link to AliExpress – http://a/i.pub/32m,09);
– fiberfiller;
– strong thread or yarn for tightening of the face (mouse color);
– fine black yarn for eyebrows; – fine pink yarn for nose;
– scissors, stitch markers, yarn needle (with a blunt end and large eye).
Abbreviations (US terminology used)
ch — chain
slst — slip stitch
sc — single crochet
hdc — half double crochet
dc — double crochet
dec — single crochet decrease (crochet 2 sc together or do an invisible decrease) inc – single crochet increase (do 2 sc in next st)
() – number in brackets marks the amount of stitches in the round.
The toy is made in spiral rounds.
I use the second method of crocheting sc from my video — https://youtu.behLweytE9u68 (watch from 1:30) or here https://youtu.be/4iaqhpBayDA
HEAD AND BODY:
Make 5 ch, don’t join, crochet around the chains
Round 1: beginning from the 2′ ch from hook:
3 sc in 1. ch, 2 sc, 3 sc in last ch, turn (on the opposite side): 2 sc (10)
Round 2: 3 inc, 2 sc, 3 inc, 2 sc (16)
Round 3-4: 16 sc (16) — 2 rounds
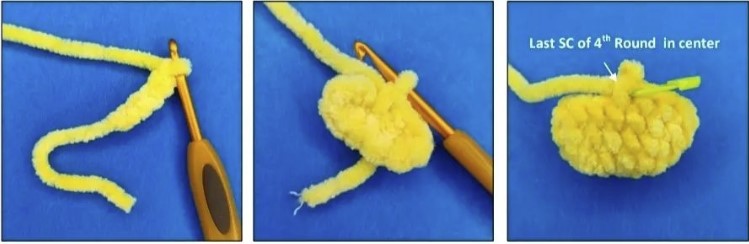
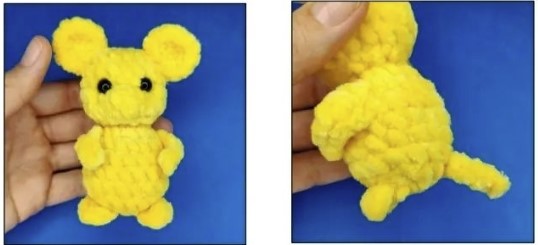
The end of the 4th round should be exactly in the center (see photo). If your end of the round has shifted, then add or dissolve the required number of sc.
Round 5: 4 sc, 2 inc, 1 sc, in next stitch — (1 sc, 2 hdc, 1sc), then 1 sc, 2 inc, 5 sc (23)
Round 6: 4 sc, 2 dec, 2 sc, 1 sc3tog, 1 sc, 2 dec, 5 sc (17)
sc3tog — insert hook into 1st sc, draw up loop, insert hook into 2nd sc, draw up loop, insert hook into 3rd sc, draw up loop, yarn over and pull hook through all loops.
Round 7: 1 sc, 3 dec, 1 sc, 4 dec, 1 sc (10)
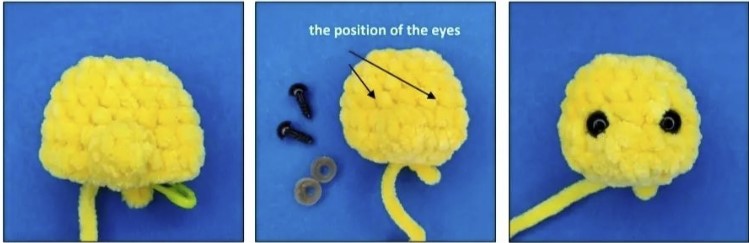
Set eyes in 9th round at a distance of 2 stitches from each other.
Stuff the head in the process of crochet (pay special attention to filling the cheeks and nose).
Round 8: 1 sc, 2 dec, 1 sc, 2 dec (6)
Round 9: 6 inc (12)
Round 10: (1 sc, 1 inc).6 times (18)
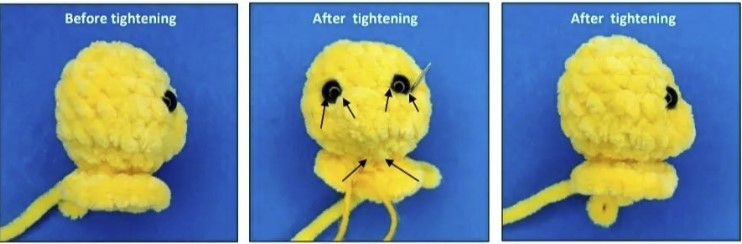
Stuff the head and base of the neck completely and tighten the head as shown in the video https://youtu.be/cilukieuedfl (do not tighten between the eyes). The arrows in the photo indicate the points of tightening
Round 11-14: 18 sc (18)-4 rounds
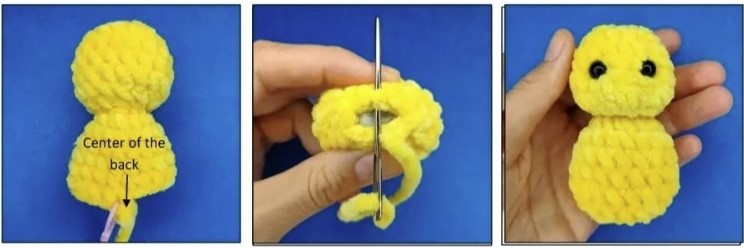
Find the center loop at the back and crochet the required number of stitches to it. I needed to make 4 sc. This will be the new end of the round (see photo below).
Round 15: 1 sc, 3 dec, 3 sc, 3 dec, 2 sc (12)
Round 16: 2 sc, 1 sc3tog, 3 sc, 1 sc3tog, 1 sc (8) + 1 slst in next loop.
Cut the yarn, leaving a 6″ tail.
Stuff the body completely, fold the bottom of body and sew with a needle, hide yarn end inside the body.
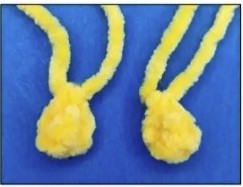
EARS (make 2):
Begin with 2 ch. (you can begin with a magic ring but please bear in mind that is is difficult to tighten a plush magic circle):
Round 1: 6 sc in 2. loop from hook (or in magic ring) (6)
Round 2: 6 inc (12), 1 slst in next loop.
Finish crocheting with 1 ch, cut the yarn, leaving a 8″ tail.
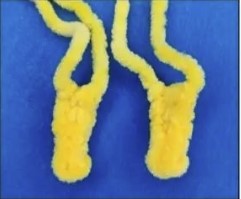
HANDS (make 2):
Make 6 ch
Row 1: beginning from the 2′ ch from hook — 2 slst, 3 sc
Finish crocheting with 1 ch, cut the yarn, leaving a 6″ tail.
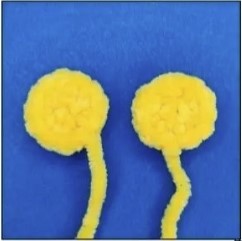
LEGS (make 2):
Make 3 ch
Row 1: in 3′ ch from hook — 1 dc, 2 ch, 1 slst.
Finish crocheting with 1 ch, cut the yarn, leaving a 6″ tail.
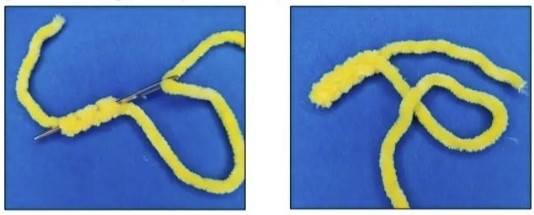
TAIL:
Make 6 ch, then cut the yarn, leaving a 6″ tail.
tighten the last loop, pull the end of the yarn. Using a needle, bring the end of the yarn to the beginning of crocheting (through the chain).
ASSEMBLY:
1. Sew the ears, placing them along the line of the beginning of crocheting.
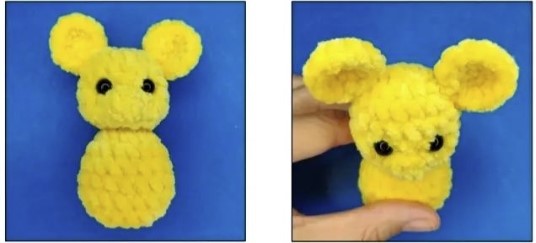
2. Place the hands on the sides of the body at an angle of about 45 degrees. At the same time, choose the position of the hand so that it is wrapped towards the body. Sew the upper edge of the hand to the body.
3. Sew the legs, placing them closer to the front of the body with the convex part up.
4. Sew the tail so that it is a support and the mouse can stand by itself
5. Embroider nose and mouth with pink fine yarn
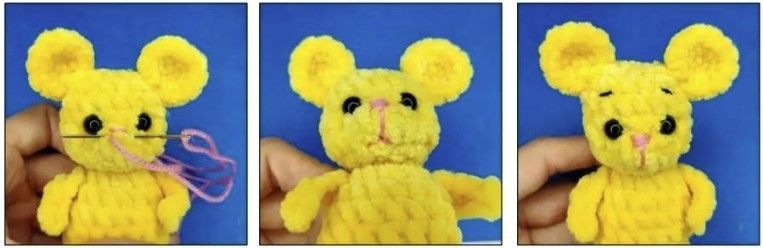
6. Embroider eyebrows with black fine yarn
Title: “Free Crochet Pattern for Plush Little Mouse Amigurumi in PDF”
Introducing our delightful and charming free crochet pattern for creating a plush little mouse amigurumi in PDF format. This adorable little mouse is the perfect handmade project for all skill levels, whether you’re a seasoned crocheter or just starting out. Our pattern provides detailed instructions and step-by-step photos to guide you through the process, ensuring a seamless and enjoyable experience.
Not only is this little mouse amigurumi incredibly cute and cuddly, but it also makes for a wonderful gift for loved ones or a special treat for yourself. The soft and squishy texture of the finished piece will bring joy and comfort to anyone who receives it.
Our pattern includes options for customizing the size and color of your mouse, allowing you to personalize it according to your preferences. You can choose from a variety of colors and yarn types to create a unique and vibrant little friend.
Don’t miss out on the opportunity to add this charming plush little mouse amigurumi to your collection or to make a heartfelt gift for someone special. Download our free PDF pattern now and start crafting today!


Comments0