
Friends, good day everyone. Would you like a rainbow colored amigurumi? You have come to the right address. First of all, thank you very much to the designer @shema_toys.
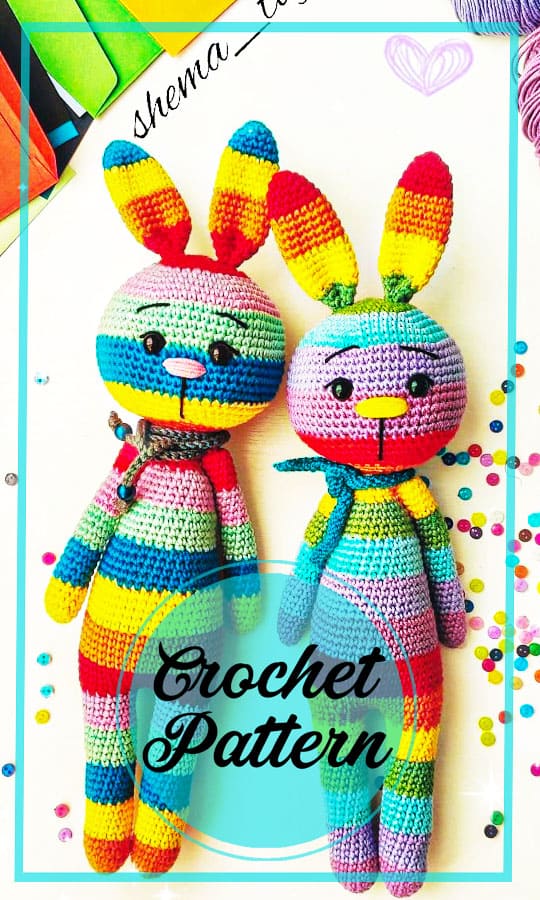
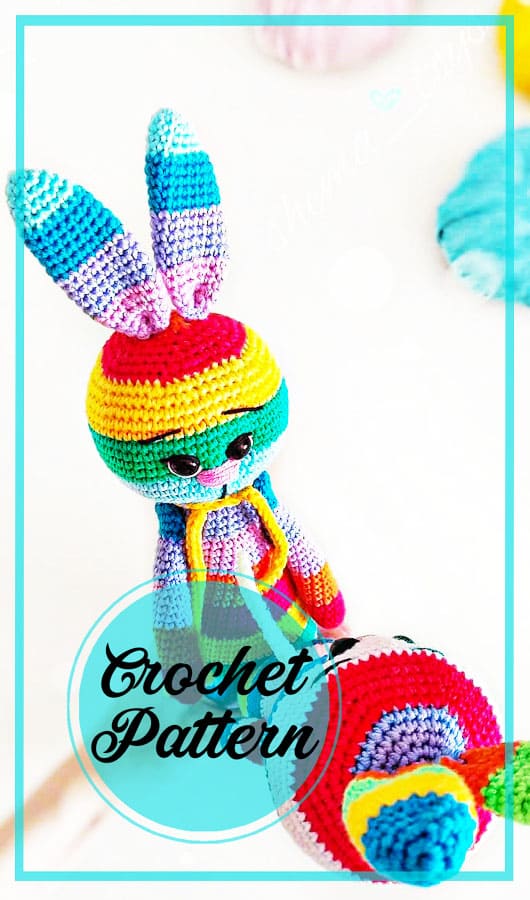
Today I will share with you a brand new amigurumi rabbit pattern. This very cute medel is prepared using different colors. Although the structure of the rope is hard, it is a very big and cute amigurumi.
I say big because when it is completed 30 will be 32 cm in size. I think it’s a pretty big doll. So it may take a little longer in the making. Because you will need to use a lot of colors and threads.
Beads are used on the eyes. Mouth, nose and eyebrow details are kept very simple. Since it is already a very large amigurumi, its construction will take a long time. So I think the designer friend avoided these details.
If we come to the color event, it is important that the colors match the rainbow, even if the color tones are not important. It would be a little strange if irrelevant colors were side by side.
Maybe your child loves it that way. This is completely your decision. Yarn Gazzal Baby Cotton was used by tying a rope. Thank you very much to Kristina Nekrasova, who made the design.
Necessary materials:
Gazzal Baby Cotton yarn (50 g / 165 m)
Hook clover # 2
Mouline thread for decoration
Screw eyes (for my toys I use 10 and 8 mm)
Needle, scissors, marker (if using)
Filler
Abbreviations
sc : Single Crochet
inc : Increase
dec : Decrease
tr : Triple Crochet/ Treble Crochet
st: Stitch
dc : Double Crochet
hdc: Half Double Crochet
sl-st : Slip Stitch
ch : Chain
..in : make increase into same stitch as many as the number which is given in front of “inc” abbreviation (exp; 3inc, 4inc..).
FLO : Crochet into front loops only
BLO : Crochet into back loops only
BL : Bobble Stitch – do 5dc all in the same stitch and then yarn over and pull through all the loops on your hook (the original loop + 1 loop for each partially completed dc).


Knitting starts at the bottom. Legs and body are knitted in one piece.
You define the color as you wish, as well as the number of rows for each color.
I had 5 rows for each color, except for the legs, for the first color I make 7 rows.
First legs
1 Row: 6 sc in MR (6)
2 Row: (1 sc, inc)*3 times (9)
3 Row: (2 sc, inc)*3 times (12)
4 Row: (3 sc, inc)*3 times (15)
5-7 Rows: 15 sc
Change the color:
8-12 Row: 15 sc
Change the color:
13-17 Row: 15 sc
Change the color:
18-22 Row: 15 sc
Change the color:
23-27 Row: 15 sc
Since there will be a connection of the legs, it is necessary that the knitting ends at the side.
Knit stitches of offset +3, remembering to change the color, 1 sl st, cut the thread.
We knit the second leg in the same way, only we do not cut the thread.
Change the color:
28 Row: Need to knit offset loops so leg joins to the side, + 12 sc
We connect the legs with three ch, we knit the connecting sc in the same loop where it is knitted sl st.
15 sc on first leg, 3 sc on one side of chin chain, 3 sc on second leg (33)
29 Row: knit sc from the previous Row, + 3 sc on the second side of the chain, so we go to the number of loops equal to 36 (36)
30 Row: (5 sc, inc)*6 time (42)
31-32 Row: 42 sc
Change the color:
33-37 Row: 42 sc
Change the color:
38-42 Row: 42 sc
Change the color:
43 Row: (5 sc, dec)* 6 time (36)
44-47 Row: 36 sc
Change the color:
48 Row: (4 sc, dec)*6 time (30)
49-52 Row: 30 sc
Change the color:
53 Row: (3 sc, dec)* 6 time (24)
54-57 Row: 24 sc
Change the color:
58 Row: (2 sc, dec)* 6 time (18)
59-62 Row: 18 sc
Cut the thread.
Upper legs (2 parts)
1 Row: 5 sc in MR (5)
2 Row: 5 inc (10)
3-5 Row: 10 sc
Change the color:
6-10 Row: 10 sc
Change the color:
11-15 Row: 10 sc
Change the color:
16-20 Row: 10 sc
Change the color:
21-24 Row: 10 sc
We fill only 2/3 of the hands.
25 Row: (3 sc, dec)* 2 times (8)
We close the knitting, cut the thread.
Head
1 Row: 6 sc in MR (6)
2 Row: 6 inc (12)
3 Row: (1 sc, inc)*6 time (18)
4 Row: (2 sc, inc)*6 time (24)
5 Row: (3 sc, inc)*6 time (30)
Change the color:
6 Row: (4 sc, inc)*6 time (36)
7 Row: (5 sc, inc)*6 time (42)
8 Row: (6 sc, inc)*6 time (48)
9 Row: (7 sc, inc)*6 time (54)
10 Row: (8 sc, inc)*6 time (60)
Change the color:
11-15 Row: 60 sc
Change the color:
16-20 Row: 60 sc
If you use screw eyes, then they should be installed at the transition of colors (15-16 Rows from the crown) at a distance of 5 sc from each other, also this distance can vary, closer to each other or further.
Change the color:
21 Row: (8 sc, dec)*6 time (54)
22 Row: 54 sc
23 Row: (7 sc, dec)*6 time (48)
24 Row: (6 sc, dec)*6 time (42)
25 Row: (5 sc, dec)*6 time (36)
Change the color
26 Row: (4 sc, dec)*6 time (30)
27 Row: (3 sc, dec)*6 time (24)
28 Row: (2 sc, dec)*6 time (18)
29 Row: 18 sc
Close the knitting, leaving the thread (or cut and sew the details in any color you like).
Ears (2 parts)
1 Row: 6 sc in MR (6)
2 Row: (1 sc, inc)*6 time (9)
3 Row: (2 sc, inc)*6 time (12)
4 Row: 12 sc
5 Row: (2 sc, inc)*4 times (16)
Change the color:
6-10 Row: 16 sc
Change the color:
11-15 Row: 16 sc
Change the color:
16 Row: (2 sc, dec)*4 times (12)
17-18 Row: 12 sc
We leave the thread in order to sew the ears to the head.
Face design:
Sew on the ears, embroider the mouth, eyebrows, upper eyelid with a black thread, if desired, embroider the whites of the eyes with a white thread.
Nose
Embroider with stitches, for example, as in the photo, any color.
Sew on the details.
This is a free crochet pattern for a cute and colorful Rainbow Bunny Amigurumi. This bunny is perfect for Easter decorations or as a cuddly toy for kids. The pattern includes step-by-step instructions with detailed photos, making it easy for even beginners to follow along. You’ll need some basic crochet skills, including single crochet, double crochet, and increasing/decreasing stitches. The finished bunny measures approximately 12 inches tall and is made using worsted weight yarn in various colors of your choice. Get ready to add a splash of color to your spring projects with this adorable Rainbow Bunny Amigurumi!


Comments0