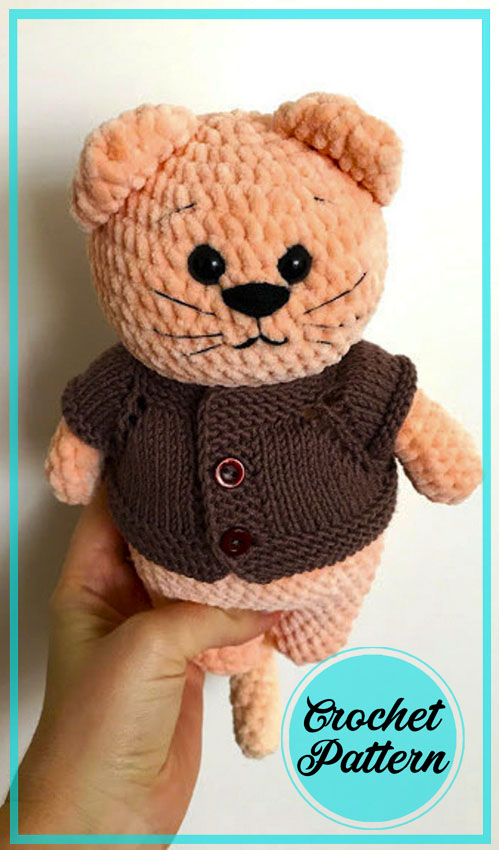
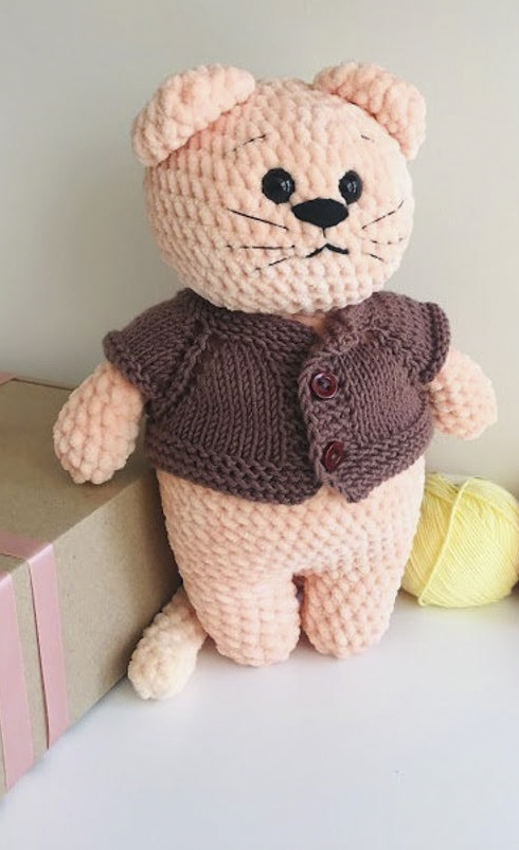
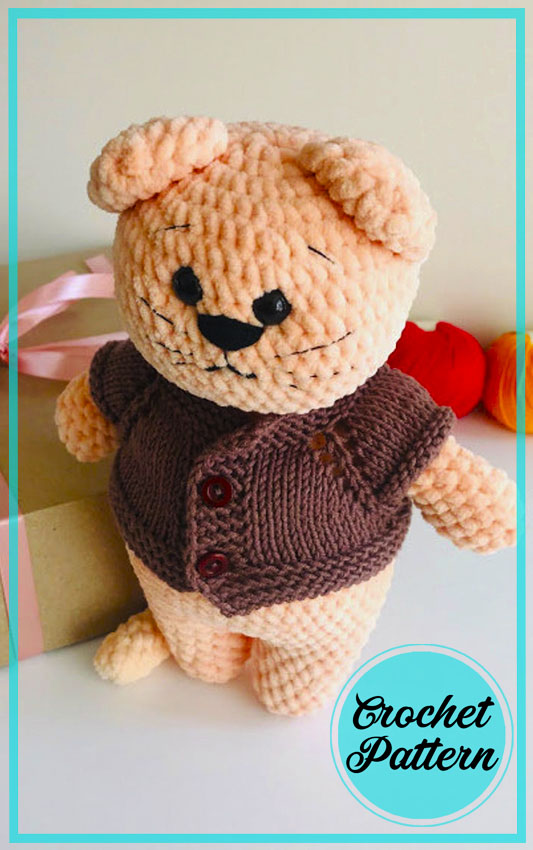
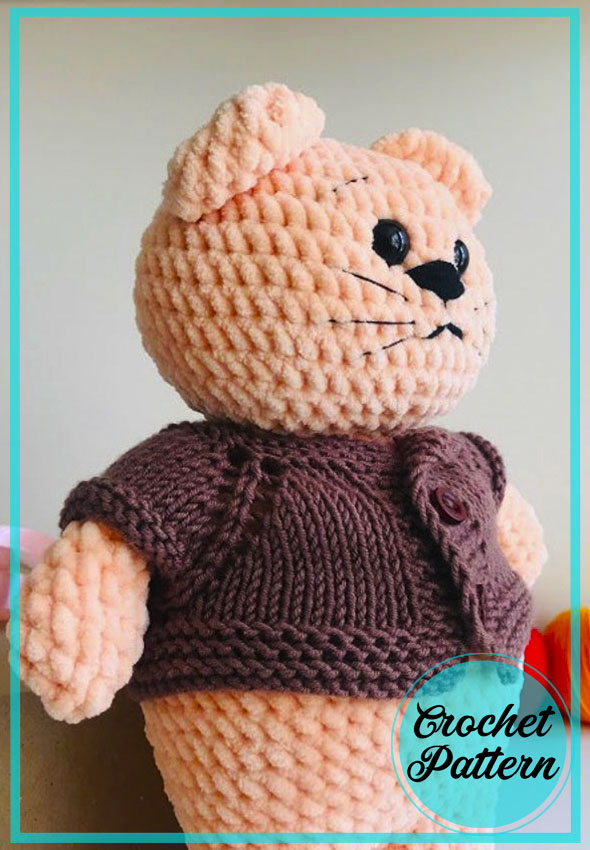
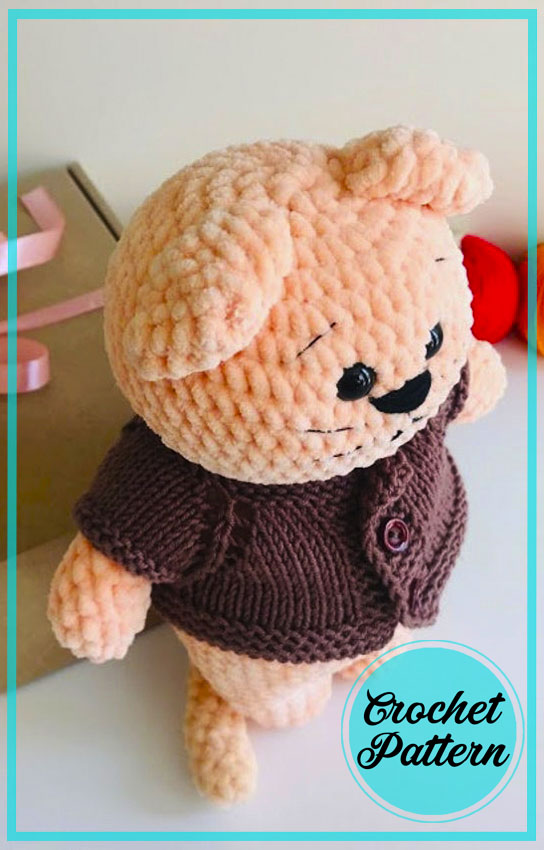
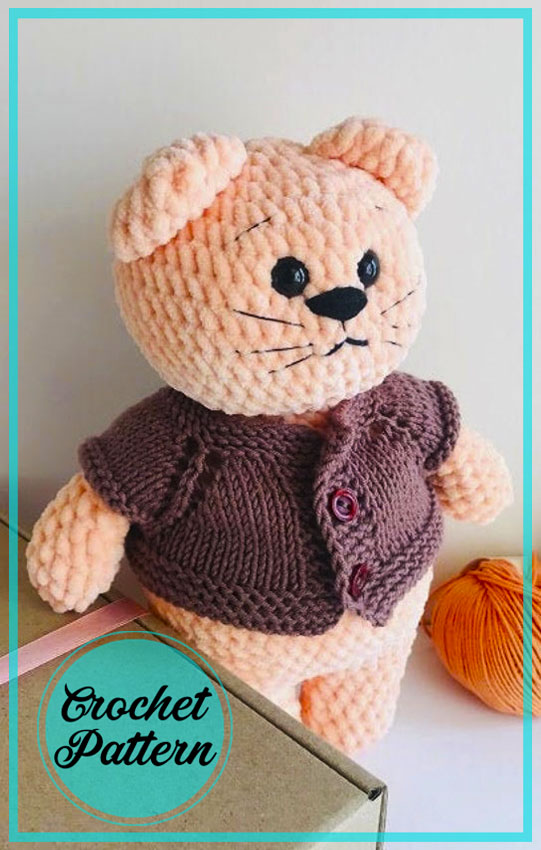
How about making a plush cat amigurumi with velvet rope? Today I am going to share an amazing crochet cat pattern. Crochet cat patterns look gorgeous. It’s pretty gorgeous in our pattern today. A magnificent design made entirely of velvet rope. I have shared gorgeous cat amigurumi patterns before. If you wish, you can look at other amigurumi patterns. Children love this kind of animal crochet patterns. Because it looks very soft and very sweet.
You can to crochet this lovely cat according to my pattern??
This is a very simple pattern, even a beginner can crochet it. The list of materials and the pattern step by step are in the photo.
Dimensions of the finished toy 28 cm (11 inches)⠀
Pdf file with this pattern is also available in my Etsy store. Also, this pdf file contains a pattern for knitting the same sweater for a cat as in the photo.
Designer: @natty.toys
MATERIALS:
For a cat:
• color A – plush yarn of Himalaya Dolphin baby (N280333) 1 skein (120m (131yd) – 1008)
• plastic eyes (2 pieces)
• sewing threads for sewing parts
• black threads for embroidering of the muzzle
• fiberfill for filling toys (100g)
Abbreviations
AR – Amigurumi Magic ring
MR – Amigurumi Magic ring
App – application
ll – lift loop
sc : Single Crochet
inc : Increase
dec : Decrease
tr : Triple Crochet/ Treble Crochet
st: Stitch
dc : Double Crochet
hdc: Half Double Crochet
sl-st : Slip Stitch
ch : Chain
..in : make increase into same stitch as many as the number which is given in front of “inc” abbreviation (exp; 3inc, 4inc..).
FLO : Crochet into front loops only
BLO : Crochet into back loops only
BL : Bobble Stitch – do 5dc all in the same stitch and then yarn over and pull through all the loops on your hook (the original loop + 1 loop for each partially completed dc).
For shirt:
• color B – yarn for knitting the shirt Gazzal Baby Cotton (brown color 1,1,117) (160m t (175 yd)- 50g)
• 2 small button
TOOLS:
• 4 mm crochet hook
• knitting needle 3.5 mm
• large needle for sewing the parts of the toy
• knitting markers (to mark the beginning of a row)
ABBREVIATIONS:
Crochet:
R — row (don’t use a round, work in a continuous spiral without slip stitches, unless otherwise stated)
sc – single crochet
inc — single crochet increase, 2 single crochets in one stitch
dec — single crochet decrease, single crochet 2 stitches together
Knitting:
edge st – edge stitch
magic ring — amigurumi ring (how make magic ring you can see by the link https://www.youtube.com/watch?v=cuen7dspHwO )
sts – stitches p – purl stitch k – knit stitch YO — yarn over
YOkYO – yarn over, 1 knit stitch, yarn over
K2tog – knit next 2 stitches together
CROCHET PATTERN
Using the yarn of color A, crochet hook 4 mm. The head with the body are crocheting as one piece. After that to sew the arms, ears and tail.
HEAD (place a marker at the beginning of the round)
R 1: magic ring (7)
R 2: (inc)*7 (14)
R 3: (inc)*14 (28)
R 4: (3sc, inc)*7 (35)
R 5: (4sc, inc)*7 (42)
R 6: (5sc, ins)*7 (49) R 7-11: 49 sc (5 rounds)
R 12: (5sc, dec)*7 (42)
R 13: (4sc,dec)*7 (35)
R 14: (3sc, dec)*7 (28)
R 15: (dec)*14 (14)
Continue to crochet the body
R 16: (1sc, inc)*7 (21)
R 17: sc (21)
R 18: (2sc, inc)*7 (28)
R 19: sc (28)
R 20: (3sc, inc)*7 (35)
R 21: sc (35)
R 22: (4sc, inc)*7 (42)
R 23: sc (42)
R 24: (5sc, inc)*7 (49
R 25-29: 49 sc (5 rounds)
R 30: dec, 3sc, dec, 2sc, dec, 14sc, dec, 6sc, dec, 14sc (44)
R 31: sc (44)
R 32: dec, 4sc, dec, 14sc, dec, 4sc, dec, 14sc (40)
R 33: sc (40)
R 34: dec, 2sc, dec, 14sc, dec, 2sc, dec, 14sc (36)
R 35: sc (36)
R 36: dec, dec, 14sc, dec, dec, 14sc (32)
Insert safe plastic eyes.
Keep your eyes symmetrical to markers as the picture.
Eyes are fixed between 7 and 8 rounds from the upper point of the head. The distance between the eyes 4-5 sc.
To stuff a toy with the fiber filler.
Double up the front and back part of the toy, crochet in the middle 2-3 sc
!!!! Carefully count the stitches to form two identical holes for the legs at 14 sc (see the picture below).
LEGS (2 details)
Crochet legs completely with body.
R 1-5: 14 sc
R 6: (dec)*7 (7)
Fill the leg with a fiber filler.
To draw the thread through 7 loops and tighten. Cut and secure the thread.
Also crochet the second leg. The body is ready.
ARMS (2 details)
R 1: magic ring (6)
R 2: (inc)* 6 (12)
R 3-5: 12 sc (3 rounds)
R 6: (dec) * 3 times, 6sc (9) R 7-12: 9 sc (6 rounds)
Double up, crochet 4 stitches. Cut and secure the thread.
EARS (2 details)
R 1: magic ring (5)
R 2: (inc)*5 (10)
R 3: (1sc, inc)*5 (15)
R 4: (2sc, inc)*5 (20) Double up, crochet 8-9 stitches.
Cut and secure the thread.
TAIL
R 1: magic ring (6)
R 2: 5sc, inc (7)
R 3-20: 7sc (18 rounds) Cut and secure the thread.
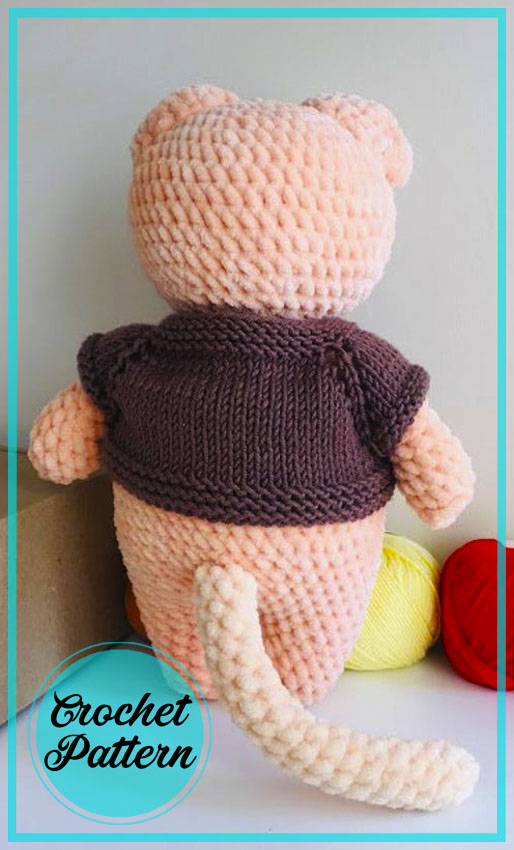
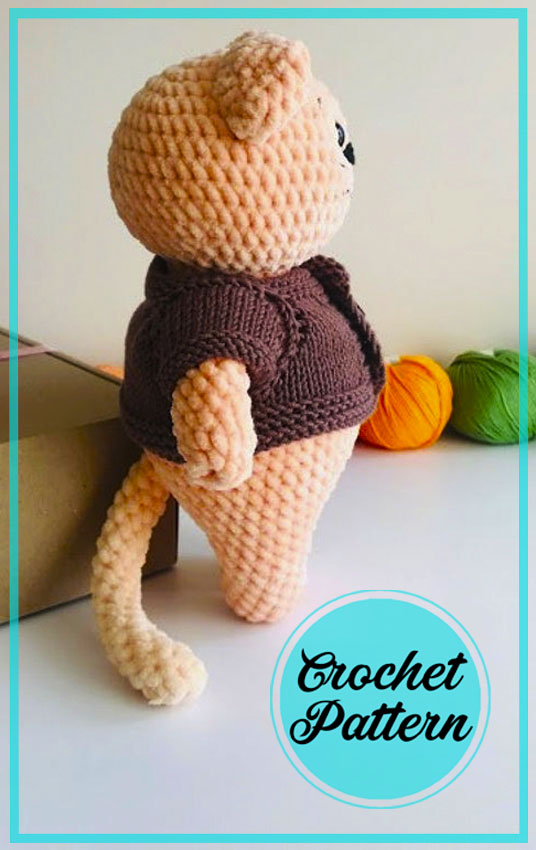
Sew arms, ears and tail as shown in the photo below. Make sure all parts are symmetrical to each other.
This is a free pattern for crocheting a velvet cat toy in the amigurumi style. Amigurumi is a Japanese art of knitting or crocheting small, stuffed animals with increased intricacy and detail. This pattern provides step-by-step instructions for creating a cute and cuddly velvet cat toy. The finished cat measures approximately 6 inches in height and is made using worsted weight yarn and a 4.00 mm crochet hook. The pattern includes detailed instructions for crocheting the body, legs, arms, and ears of the cat, as well as sewing the pieces together and adding eyes and nose. It is suitable for intermediate crocheters who have experience with basic amigurumi techniques. With this free pattern, you can create a charming and unique cat toy that will be cherished by children and adults alike.


Comments0