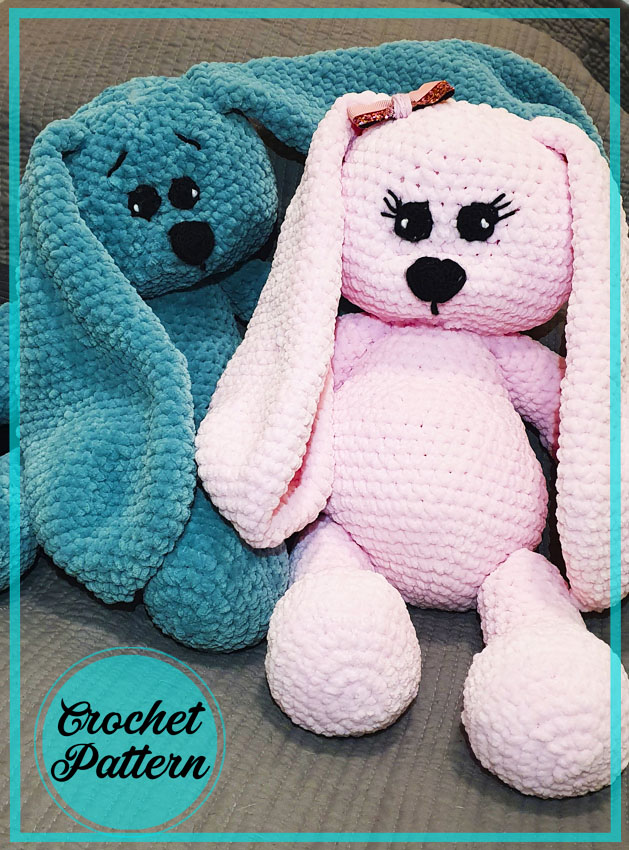
Friends, today I will share a very easy plush bunny amigurumi pattern. You can find all the details of making the pattern in the continuation of the article. The materials you need to use when making a crochet bunny are quite simple and you can find them everywhere. The most important thing needed for the Amigurumi bunny is, of course, the rope. You can start making this beautiful bunny by buying a quality velvet rope. The bunny’s most eye-catching part is its ears. Let’s make this cute crochet bunny together.
Floppy Ear Bunny Pattern
Yarn
I used 3 skeins of Hobbii Baby snuggle Super chunky (100g each) and a small amount of
black Double knit required for the facial features.
Hooks
6.00mm for the body
2.50mm for the facial features
Abbreviations (US Terms):
ch – chain
st(s) – stitch(es)
sc – single crochet
inc – increase (2sc in one st)
dec – decrease (2sc together)
blsc – back loop single crochet
hdc – half double crochet
sl st – slip stitch
(..) – total number of sts in row
* repeat the stitch prior this number of times
( ) x 6 = repeat whatever is between the brackets the number of times stated
Instructions:
Arms (Make 2)
Row 1: Work 4 sc in a magic circle, Join to first sc with sl st (4)
Row 2: inc x 4 (8)
Row 3: inc, sc, inc *3, sc, inc* 2 (14)
Row 4: sc, inc, sc *3, inc, (sc, inc) x2, sc *3, inc (19)
Rows 5-9: sc *19 (19)
Row 10: sc*7, dec, sc, dec, sc*7 (17)
Row 11: sc*4, dec*2, sc, dec*2, sc*4 (13)
Rows: 12-21: sc *13 (13)
Pull enough thread through – stuff to desired firmness and sew the top together.
Legs (make 2)
Row 1: Work 7 sc in a magic circle. Join to first sc with sl st. (7)
Row 2: Inc *7 (14)
Row 3: inc, sc*4, inc*3, sc*4, inc*2 (20)
Row 4: sc, inc, sc*5, inc, sc*3, inc, sc*5, inc, sc*2 (24)
Row 5: sc*2, inc, (sc*5, inc)*3, inc, sc*3 (30)
Row 6: (sc, inc)x 2, sc*5, inc, sc, inc, sc*3,inc,sc,inc,sc*5,inc,sc,inc, sc*2 (36)
Row 7: scbl*36 (36)
Rows 8-9: sc*36 (36)
Row 10: sc*9, dec, (sc, dec)*5, sc*8, dec (29)
Row 11: sc*8, dec*2, sc*3, dec*2, sc*8, dec (24)
Row 12: sc*8, dec*4, sc*8 (20)
Row 13: sc*6, dec, sc*4, dec, sc*6 (18)
Row 14: sc*7, dec*2, sc*7 (16)
Rows 15-24: sc *16 (16)
Pull enough thread through – stuff to desired firmness and sew the top together.
Ears (make 2)
Row 1: magic circle with 6 st (6)
Row 2: inc * 6 (12)
Row 3: (1 sc, inc) x 6 (18)
Row 4: (2 sc, inc) x 6 (24)
Row 5: (3 sc, inc) x 6 (30)
Row 6: (4 sc, inc) x 6 (36)
Row 7: (5 sc, inc) x 6 (42)
Rows 8-12: 42 sc (42)
Row 13: (5 sc, dec) x 6 (36)
Rows 14-18: 36 sc (36)
Row 19: (4 sc, dec) x 6 (30)
Rows 20-24: 30 sc (30)
Row 25: (3 sc, dec) x 6 (24)
Rows 26-30: 24 sc (24)
Row 31: (2 sc, dec) x 6 (18)
Rows 32-36: 18sc (18)
Row 37: (sc, dec) x 6 (12)
Rows 38-42: 12 sc (12)
Do not fill the ears. Pull enough thread through and sew together
Body in one piece
Row 1: magic circle with 6 st (6)
Row 2: inc * 6 (12)
Row 3: (1 sc, inc) x 6 (18)
Row 4: (2 sc, inc) x 6 (24)
Row 5: (3 sc, inc) x 6 (30)
Row 6: (4 sc, inc) x 6 (36)
Row 7: 36 sc (36)
Row 8: (5 sc, inc) x 6 (42) – place a stitch markers to join legs at row 8
Row 9: (6 sc, inc) x 6 (48)
Row 10-16: 48 sc (48)
Row 17: (6 sc, dec) x 6 (42)
Row 18: (5 sc, dec) x 6 (36)
Row 19: 3 sc, dec* 6, 21 sc (30)
Rows 20-23: 30 sc (30)
Row 24: (3 sc, dec) x 6 (24)
Row 25: 24 sc (24) – place a stitch marker for arms to join at row 24
Row 26: dec*12 (12)
Row 27: inc*12 (24)
Row 28: (sc, inc) x 12 (36)
Row 29: (5sc, inc) x 6 (42)
Row 30: (6sc, inc) x 6 (48)
Row 31: (7sc, inc) x 6 (54)
Row 32: (8sc, inc) x 6 (60)
Rows 33-37: 60 sc (60)
Row 38: (8sc, dec) x 6 (54)
Row 39: (7sc, dec) x 6 (48)
Row 40: (6sc, dec) x 6 (42)
Row 41: 42 sc (42) – place a stitch marker for eye to join around row 41
Row 42: (5sc, dec) x 6 (36)
Row 43: (4sc, dec) x 6 (36)
Row 44: 30 sc (30)
Row 45: (3sc, dec) x 6 (24) – place a stitch marker for eyes to join at row 45
Row 46: 24 sc (24)
Row 47: (sc, dec) x 8 (16)
Stuffed the body at this point before completing the final row to allow more room to insert
the desired amount of stuffing.
Row 48: dec * 8, pull and fasten off.
Eyes (make 2)
Row 1: Create a magic circle with 8 HDC, join with a sl st to first st, Ch 1 (8)
Row 2: 2 Sc in each stitch and join with a sl st to the first sc (16)
Fasten off
Optional to add white reflection – depends on desired end result.
Nose (a triange) – you may prefer to embroider
Row 1: ch 6 st (6)
Row 2: turn over, sc in each st (6)
Row 3: turn over, sc *2, dec, sc *2 (5)
Row 4: turn over, sc*5 (5)
Row 5: turn over, dec, sc, dec (3)
Row 6: turn over, dec, sc (2)
Row 7: turn over, dec (1)
Fasten off
Assemble
1. Sew ear on at the marker at around row 45 of the body
2. Sew the arms on between the 12 dec and 12 inc of the neck of the body.
3. Sew the legs on around Row 8 of the body
4. Sew eyes around row 41 rows, at a distance of 2-3 sts – to desired facial feature
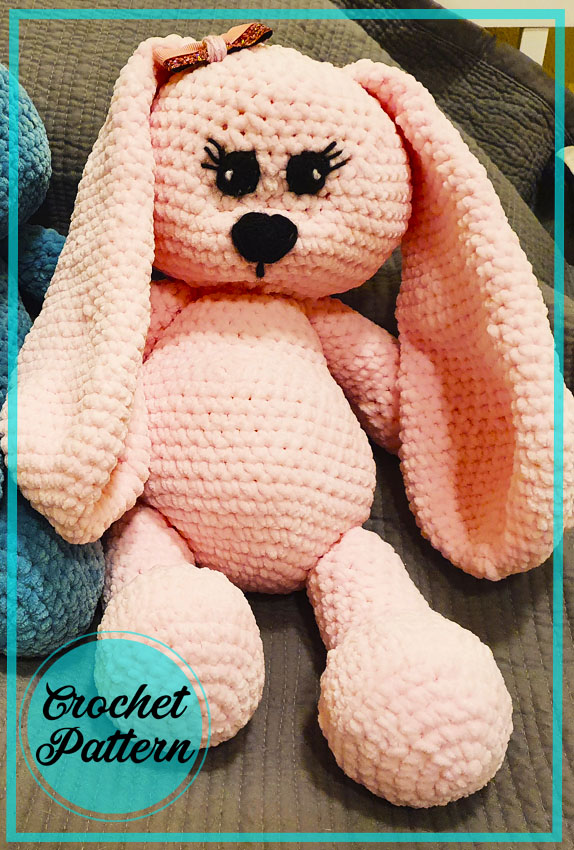
5. Make a snout muzzle. See picture: I inserted the needle at the neck (the 12 inc and dec). Sew the thread all the way up just under the eyes and pull through, insert needle in the stitch next to it and thread back down to the neck, pull the thread to get that slight indent and tie off under the neck. Repeat this approx. 4 –
5 times to get the desired muzzle you would like.
6. Complete your bunny with eyelashes, eyebrows and any accessories you desire.
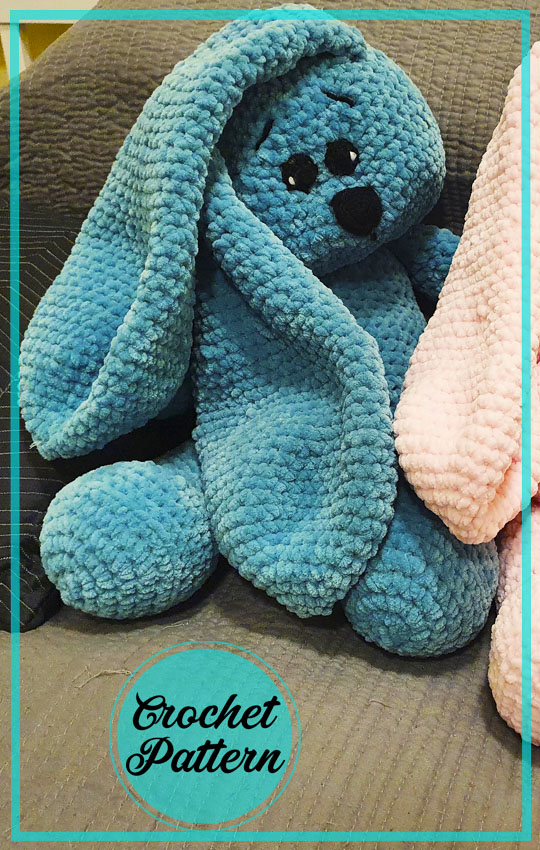
This is a PDF crochet pattern for making a cute and fluffy bunny. The pattern is designed for amigurumi crochet, which involves using small amounts of yarn to create a stuffed toy. The bunny is made in the round using double crochet stitches and joined using slip stitches. The ears and tail are made separately and attached to the body. The pattern includes instructions for adjusting the size of the bunny to make it smaller or larger. This would be a great project for an intermediate crocheter looking to try their hand at amigurumi.


Comments0