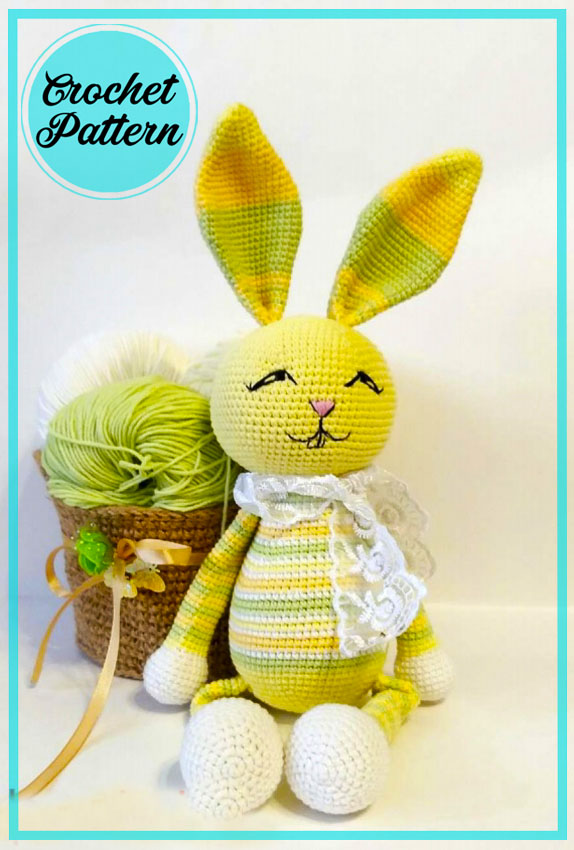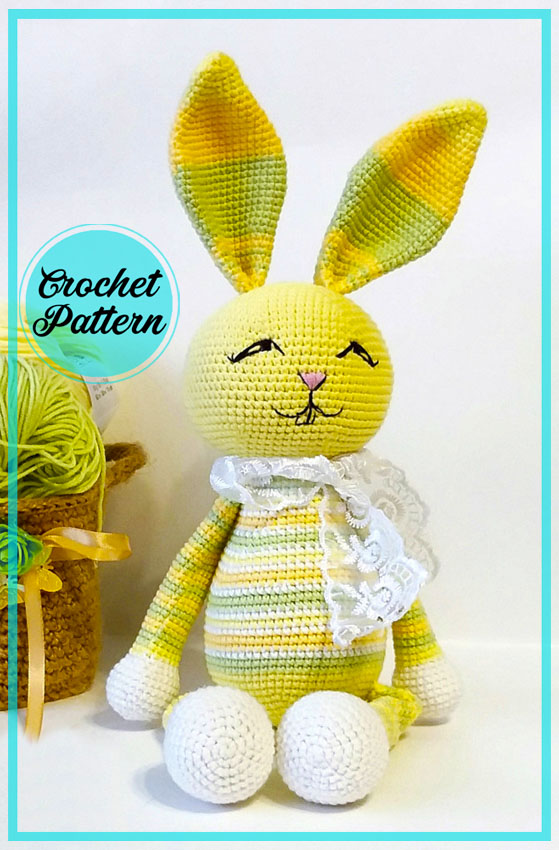
Dear friends, today I will share a yellow bunny amigurumi pattern. The bunny pattern is a bit difficult to make and although the color transitions are a bit too much, it is a very realistic model for a bunny. Especially in terms of his ears and other limbs. But the bunny’s face is made quite simply. If you wish, you can redesign the crochet bunny‘s face. If you have made bunny amigurumi before, this will be a very easy process for you.
Hello guys. Today we will knit lovely spring bunny amigurumi.
Designer: Olga Zimina
Materials:
1. Jeans yarn (160 / 50g) or any other. Use the colors you like, I have yellow, lemon yellow, green and white.
2. Crochet hook suitable for your yarn, I have # 1.75
3. Filler for toys
4. Four beads in the paws, 20 mm in diameter (optional)
5. Black thin yarn for face embroidery
6. Needle for stitching parts
Abbreviations
AR – Amigurumi Magic ring
MR – Amigurumi Magic ring
App – application
ll – lift loop
sc : Single Crochet
inc : Increase
dec : Decrease
tr : Triple Crochet/ Treble Crochet
st: Stitch
dc : Double Crochet
hdc: Half Double Crochet
sl-st : Slip Stitch
ch : Chain
..in : make increase into same stitch as many as the number which is given in front of “inc” abbreviation (exp; 3inc, 4inc..).
FLO : Crochet into front loops only
BLO : Crochet into back loops only
BL : Bobble Stitch – do 5dc all in the same stitch and then yarn over and pull through all the loops on your hook (the original loop + 1 loop for each partially completed dc).

1. Head:
1. 6sc in MR
2. 6inc (12)
3. (sc,inc)*6 (18)
4. (2sc,inc)*6 (24)
5. (3sc,inc)*6 (30)
6. (4sc,inc)*6 (36)
7. (5sc,inc)*6 (42)
8. (6sc,inc)*6 (48)
9. (7sc,inc)*6 (54)
10. (8sc,inc)*6 (60)
11. (9sc,inc)*6 (66)
12. (10sc,inc)*6 (72)
13.-24. 72 sc (12 rows)
25. (10sc,dec)*6 (66)
26. (9sc,dec)*6 (60)
27. (8sc, dec)*6 (54)
28. (7sc,dec)*6 (48)
29. (6sc,dec)*6 (42)
30. (5sc,dec)*6 (36)
31. (4sc,dec)*6 (30)
32. (3sc,dec)*6 (24)
33. (2sc,dec)*6 (18) Fill your head.
34. (sc,dec)*6 (12)
35. 6dec Pull the hole, cut the yarn, leaving the end for sewing.
Mark the places of embroidery with pins and embroider the muzzle with black yarn.
2. Ears (2pcs):
1. 6 in MR
2. 6inc (12)
3. 12sc
4. (inc, 5sc)*2 (14)
5. (inc,6sc)*2 (16)
6. (inc, 7sc)*2 (18)
7. (5sc,inc)*3 (21)
8. (6sc,inc)*3 (24)
9. (inc, 11sc)*2 (26)
10. (inc, 12sc)*2 (28)
11. (inc, 13sc)*2 (30)
12. (inc, 14sc)*2 (32)
13. (inc, 15sc)*2 (34)
14. (inc, 16sc)*2 (36)
15. (inc,17sc)*2 (38)
16.-21. 38sc
22. (dec,17sc)*2 (36)
23. (dec,16sc)*2 (34)
24. (dec,15sc)*2 (32)
25. 32sc
26. (dec,14sc)*2 (30)
27. (dec,8sc)*3 (27)
28. 27sc
29. (dec,7sc)*3 (24)
30.-34. 24sc
Fold the piece into four layers and knit 5sc across all layers.
Fasten the yarn, leave the end for sewing.
Sew the ears to the head.
3. Body
1. 6sc in MR
2. 6inc (12)
3. (sc,inc)*6 (18)
4. (2sc,inc)*6 (24)
5. (3sc,inc)*6 (30)
6. (4sc,inc)*6 (36)
7. (5sc,inc)*6 (42)
8. (6sc,inc)*6 (48)
9. (7sc,inc)*6 (54)
10. (8sc,inc)*6 (60)
11. (9sc,inc)*6 (66)
12.-24. 66sc ( 13 rows)
25. (9sc,dec)*6 (60)
26. (18sc,dec)*3 (57)
27. (17sc, dec)*3 (54)
28. (16sc,dec)*3 (51)
29. (15sc,dec)*3 (48)
30. (14sc,dec)*3 (45)
31. (13sc,dec)*3 (42)
32. (12sc,dec)*3 (39)
33. (11sc,dec)*3 (36)
34.-39. 36sc
40. (4sc,dec)*6 (30)
41. 30sc
42. (3sc,dec)*6 (24) Fill the torso.
43. (2sc.dec)*6 (18)
44. (sc,dec)*6 (12)
45. 6dec
5. Hind feet (2times):
1. 6sc in MR
2. 6inc (12)
3. (sc,inc)*6 (18)
4. (2sc,inc)*6 (24)
5. (3sc,inc)*6 (30)
6. (4sc,inc)*6 (36)
7.-12. 36sc
13. (4sc,dec)*6 (30)
14. (3sc,dec)*6 (24) Insert bead.
15. (2sc,dec)*6 (18)
16.-45. 18sc (30 рядов)
Leave the yarn for sewing.
6. Front legs (2pcs):
1. 6sc in MR
2. 6inc (12)
3. (sc,inc)*6 (18)
4. (2sc,inc)*6 (24)
5. (7sc,inc)*3 (27)
6.-9. 27sc
10. (7sc, dec)*3 (24) Insert bead.
11. (2sc,dec)*6 (18)
12.-41. 18sc (30 rows)
Leave the yarn for sewing.
Tail:
1. 6sc in MR
2. 6inc (12)
3. (sc,inc)*6 (18)
4. (2sc,inc)*6 (24)
5. (3sc,inc)*6 (30)
6.-9. 30sc
10. (3sc,dec)*6 (24)
11. (2sc,dec)*6 (18)
Leave the yarn for sewing.
7. Assembly:
Sew the paws to the body on the sides. The lower and upper legs are in line.
Fill the tail and sew on the back. My hare sits on its own, leaning on its tail, without any help.
Sew the head to the body.
In front of the Hare, you can arrange it as your imagination allows you, I just tied the lace.
Your Spring Bunny is ready!
Spring Bunny Amigurumi is a delightful and charming crochet pattern that brings the spirit of spring into your home. This free PDF pattern offers step-by-step instructions to create a cute and fluffy bunny that will surely brighten up your day. The pattern is easy to follow, making it perfect for both beginners and experienced crocheters. You can customize the colors to match your decor or make it as a gift for a loved one. With just a few skeins of yarn and some basic crochet stitches, you can create a lovely spring bunny that will be cherished for years to come. Download the free PDF pattern and get ready to enjoy the magic of spring with this adorable amigurumi bunny!


Comments0